Getting started
Install Dentora on a Windows computer or an Android device, set up your clinic in five short steps, then sign in with your PIN and start working.
Watch this topic on videoOn this page
Before you start
Dentora runs your whole dental clinic: patients, appointments, treatments, invoices and reports. It works on a Windows computer or on an Android phone or tablet, and needs no internet for daily work.
Your clinic’s data is kept on the device itself and is never sent to a server. Each device therefore has its own separate database, and devices do not sync with each other. Choose one main device for the clinic and back it up regularly.
The first launch starts a free 7-day trial with every feature, with no sign-up and no account. After that you activate Dentora with your licence, and everything you entered stays as it is.
Installing on Windows
Dentora for Windows comes as a single installer whose name starts with Dentora-Setup and ends with .exe.
- Download the installer from the Download section of the Dentora website (the “Download for Windows” button), or from the link the seller sends you on WhatsApp.
- Open the file you downloaded. If a “Windows protected your PC” screen appears, click “More info”, then “Run anyway”. Windows shows it because the app is new to it.
- Read and accept the terms of use on the first page, keep the suggested folder, and continue until the installation finishes. No Windows administrator rights are needed.
- On the last page leave the option to run Dentora ticked and close the installer: Dentora opens straight away. Shortcuts are added on the desktop and in the Start menu. Continue with the first-run setup.
Installing on Android
The Android app is a single .apk file. It runs on phones and tablets with Android 7.0 or later.
- Download the file from the Download section of the Dentora website (the “Download APK” button), or ask the seller to send it to you on WhatsApp.
- Open the file from the download notification, your file manager, or the WhatsApp chat.
- If Android asks you to allow “Install unknown apps”, allow it for the app you opened the file from, then go back and tap “Install”.
- If Google Play Protect shows a warning, tap “More details”, then “Install anyway”.
- Open Dentora from your apps: the welcome screen appears. Continue with the first-run setup.
First-run setup: language, clinic and currency
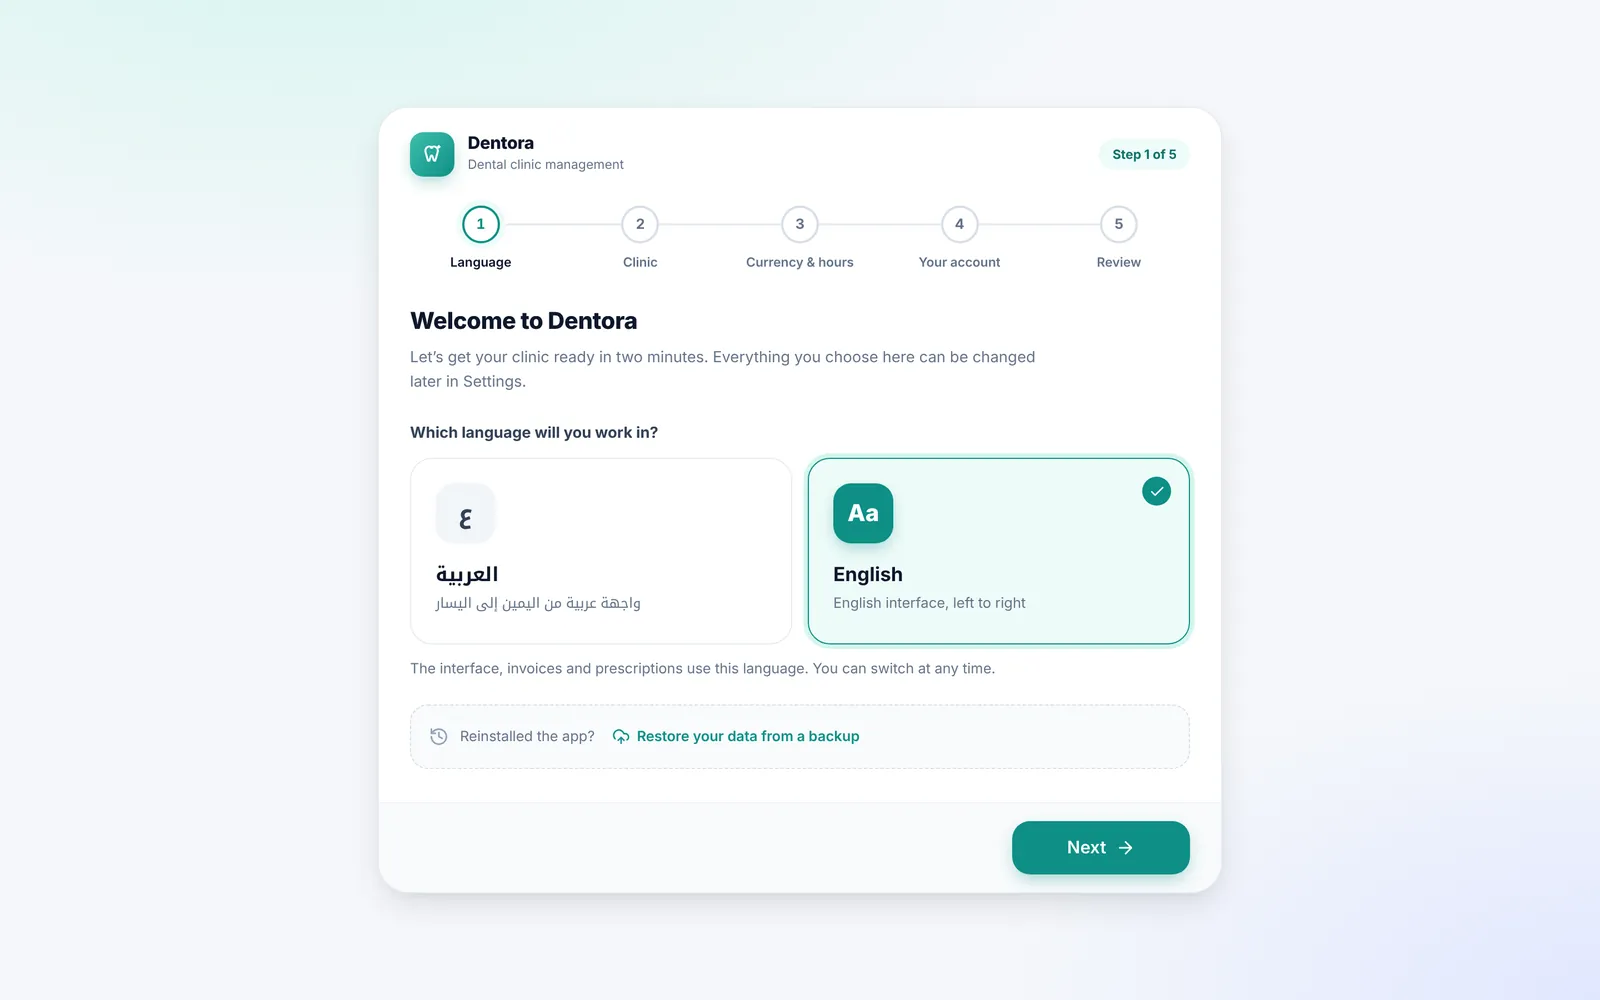
The first time Dentora opens, a five-step wizard guides you: Language, Clinic, Currency & hours, Your account and Review. Everything you choose here can be changed later in Settings.
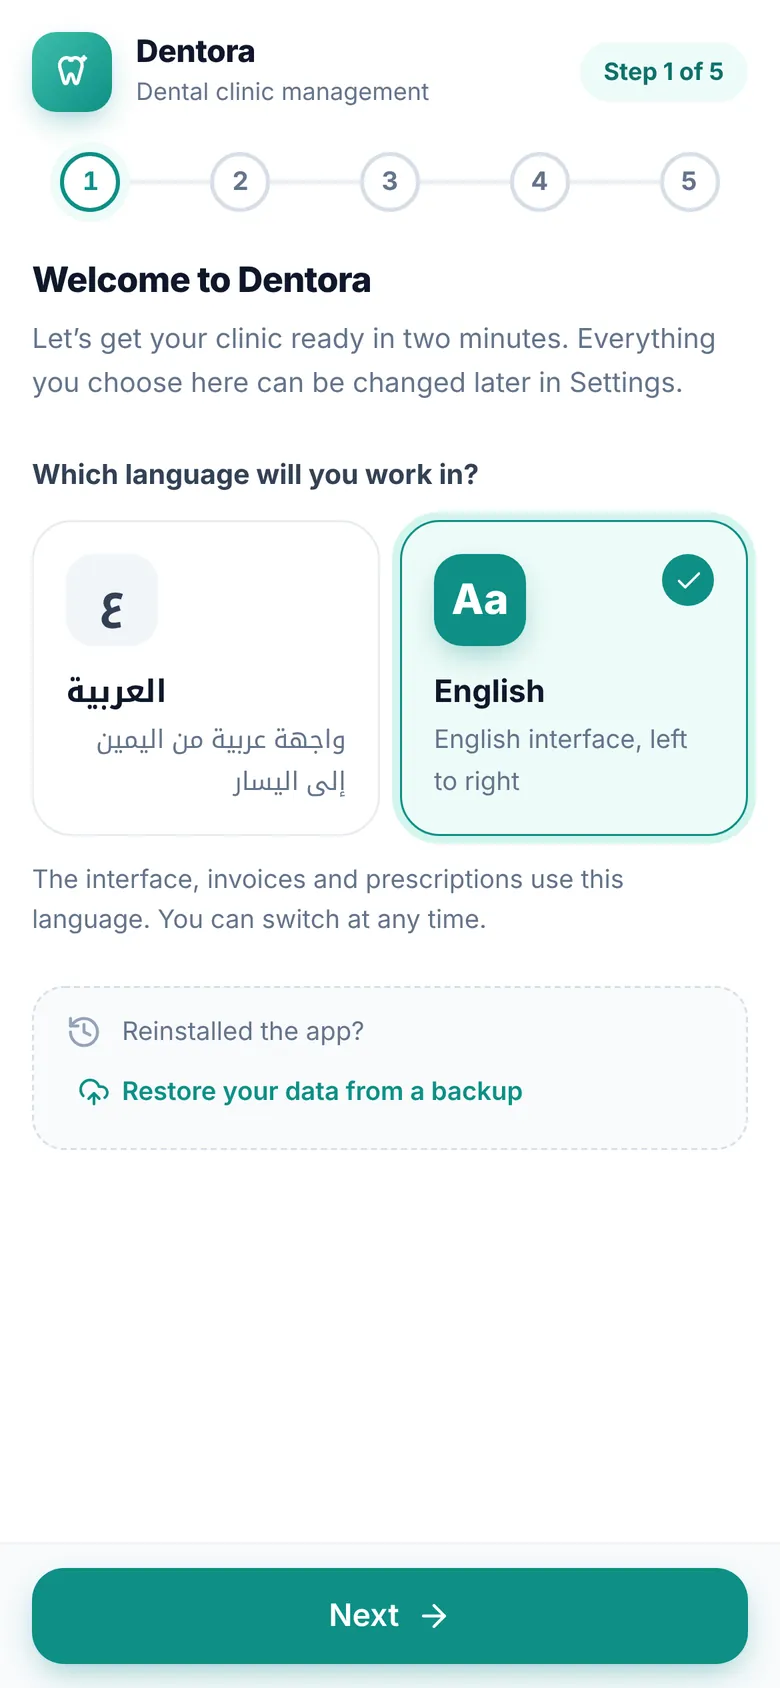
- On the Language step choose العربية or English, then click Next. The wizard switches language at once.
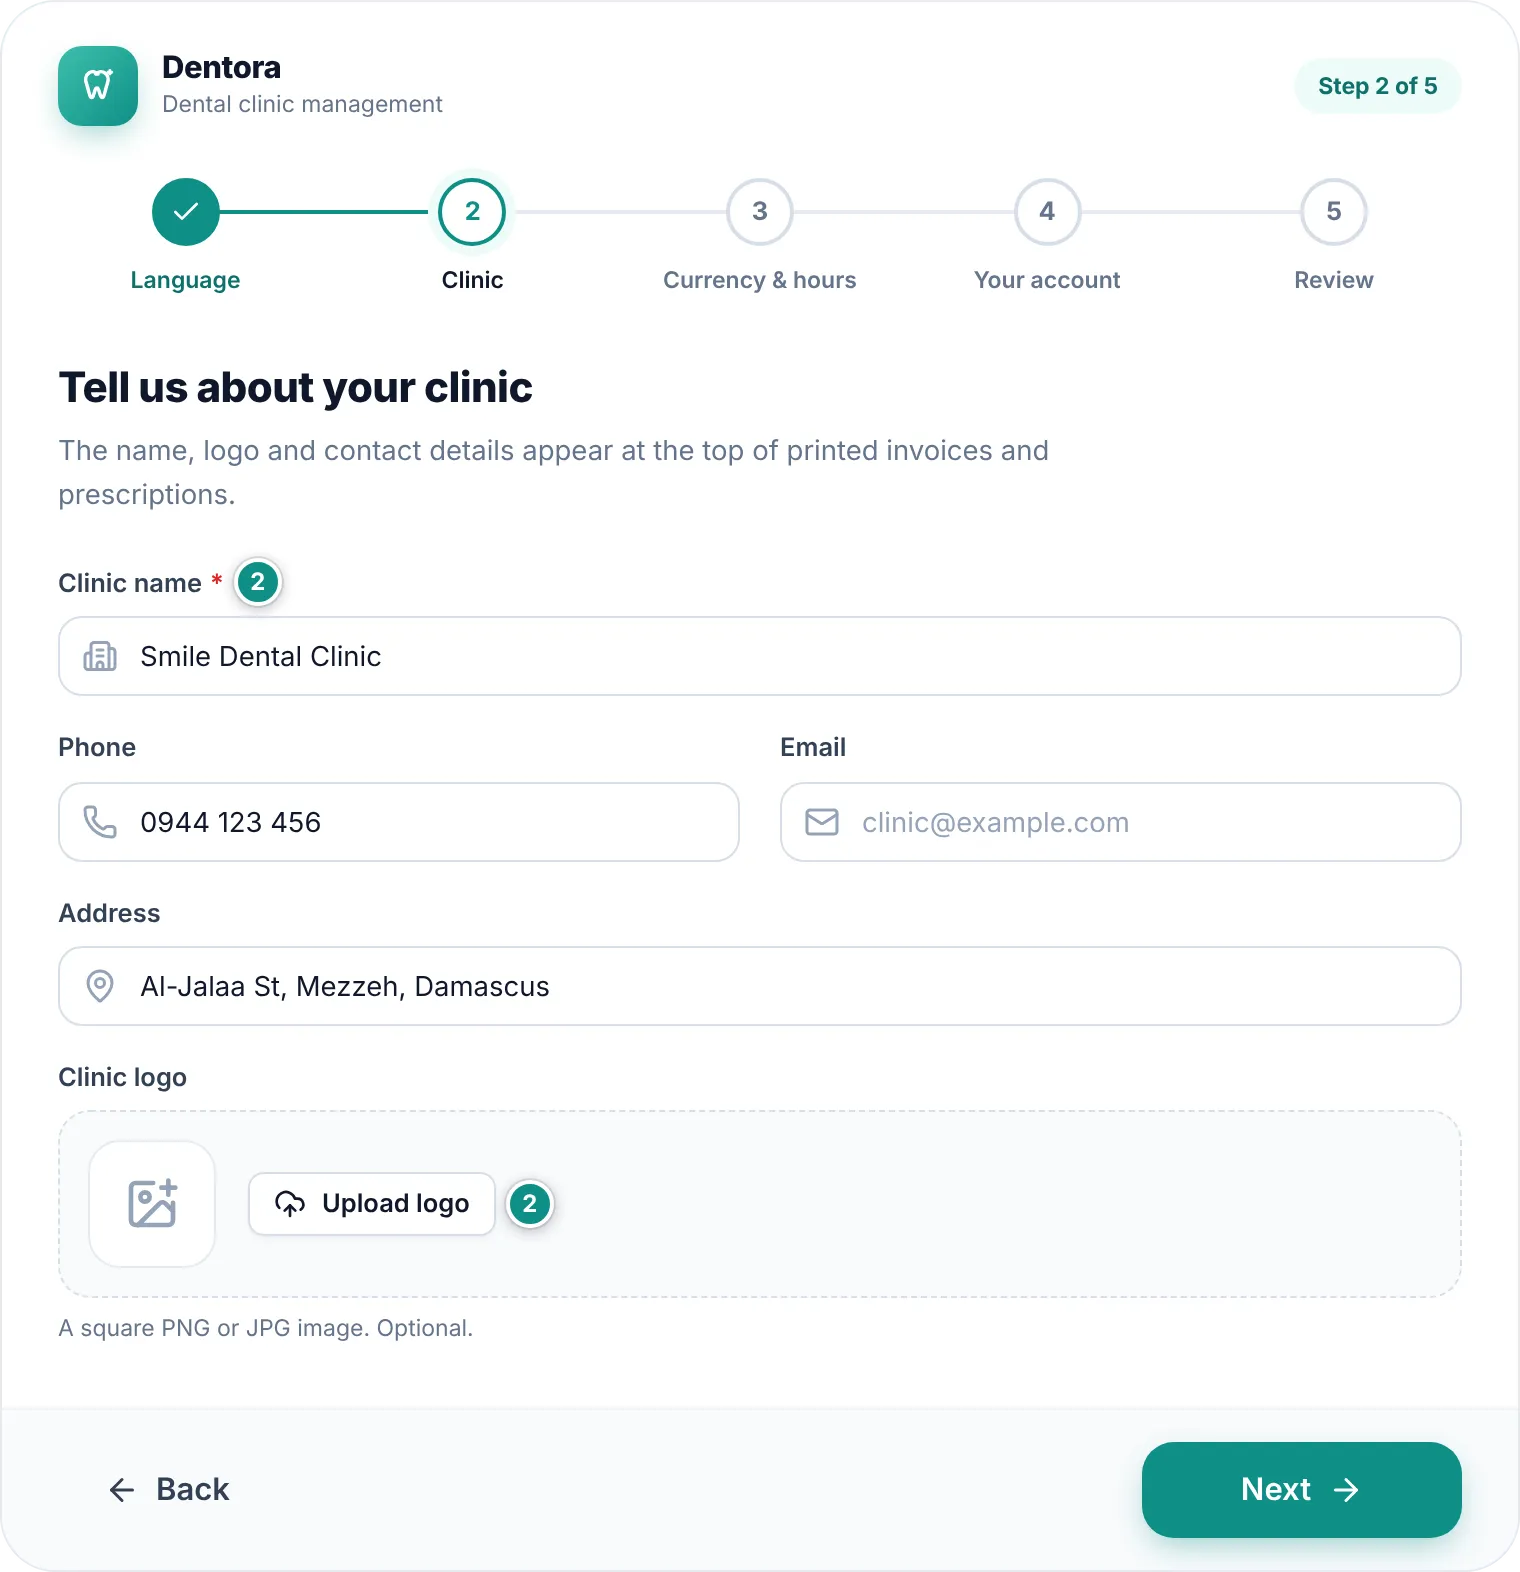
- On the Clinic step type the Clinic name, the only required field. Add the Phone, Email and Address if you like, and add your logo with Upload logo. These details appear at the top of printed invoices and prescriptions.
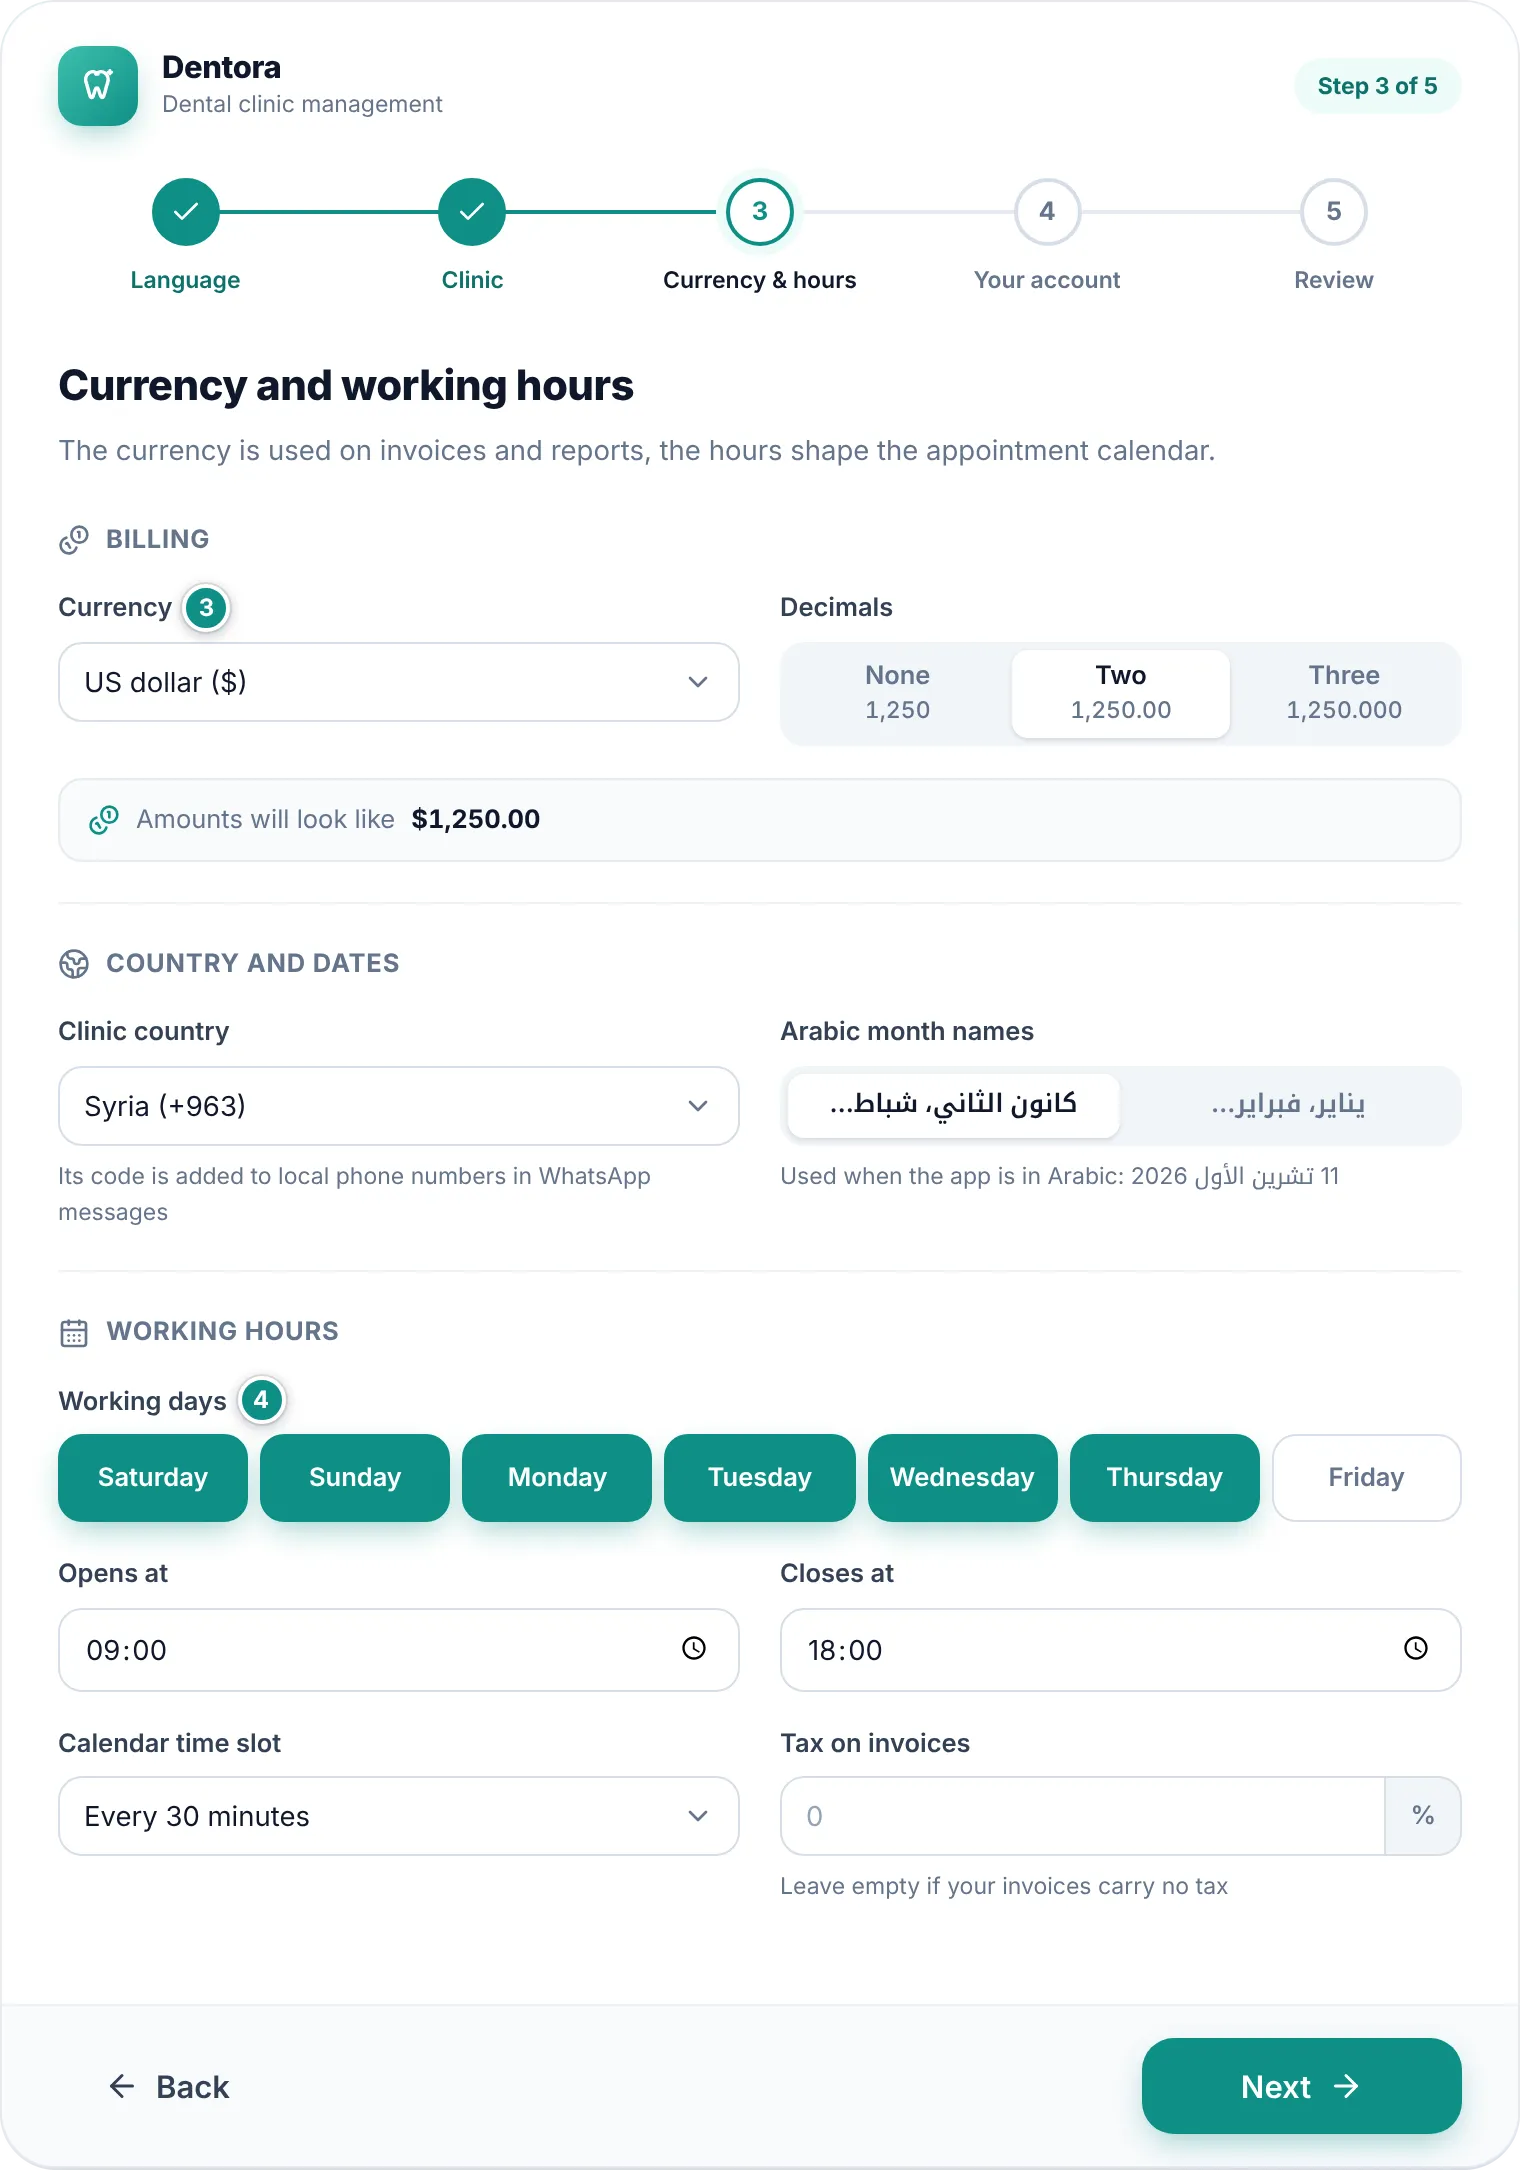
- On the Currency & hours step choose the Currency and the Decimals, and check the Clinic country and the Arabic month names.
- Set your Working days and hours (Opens at and Closes at) and the Calendar time slot. Fill in Tax on invoices if your clinic charges tax, then click Next.
First-run setup: your account and review
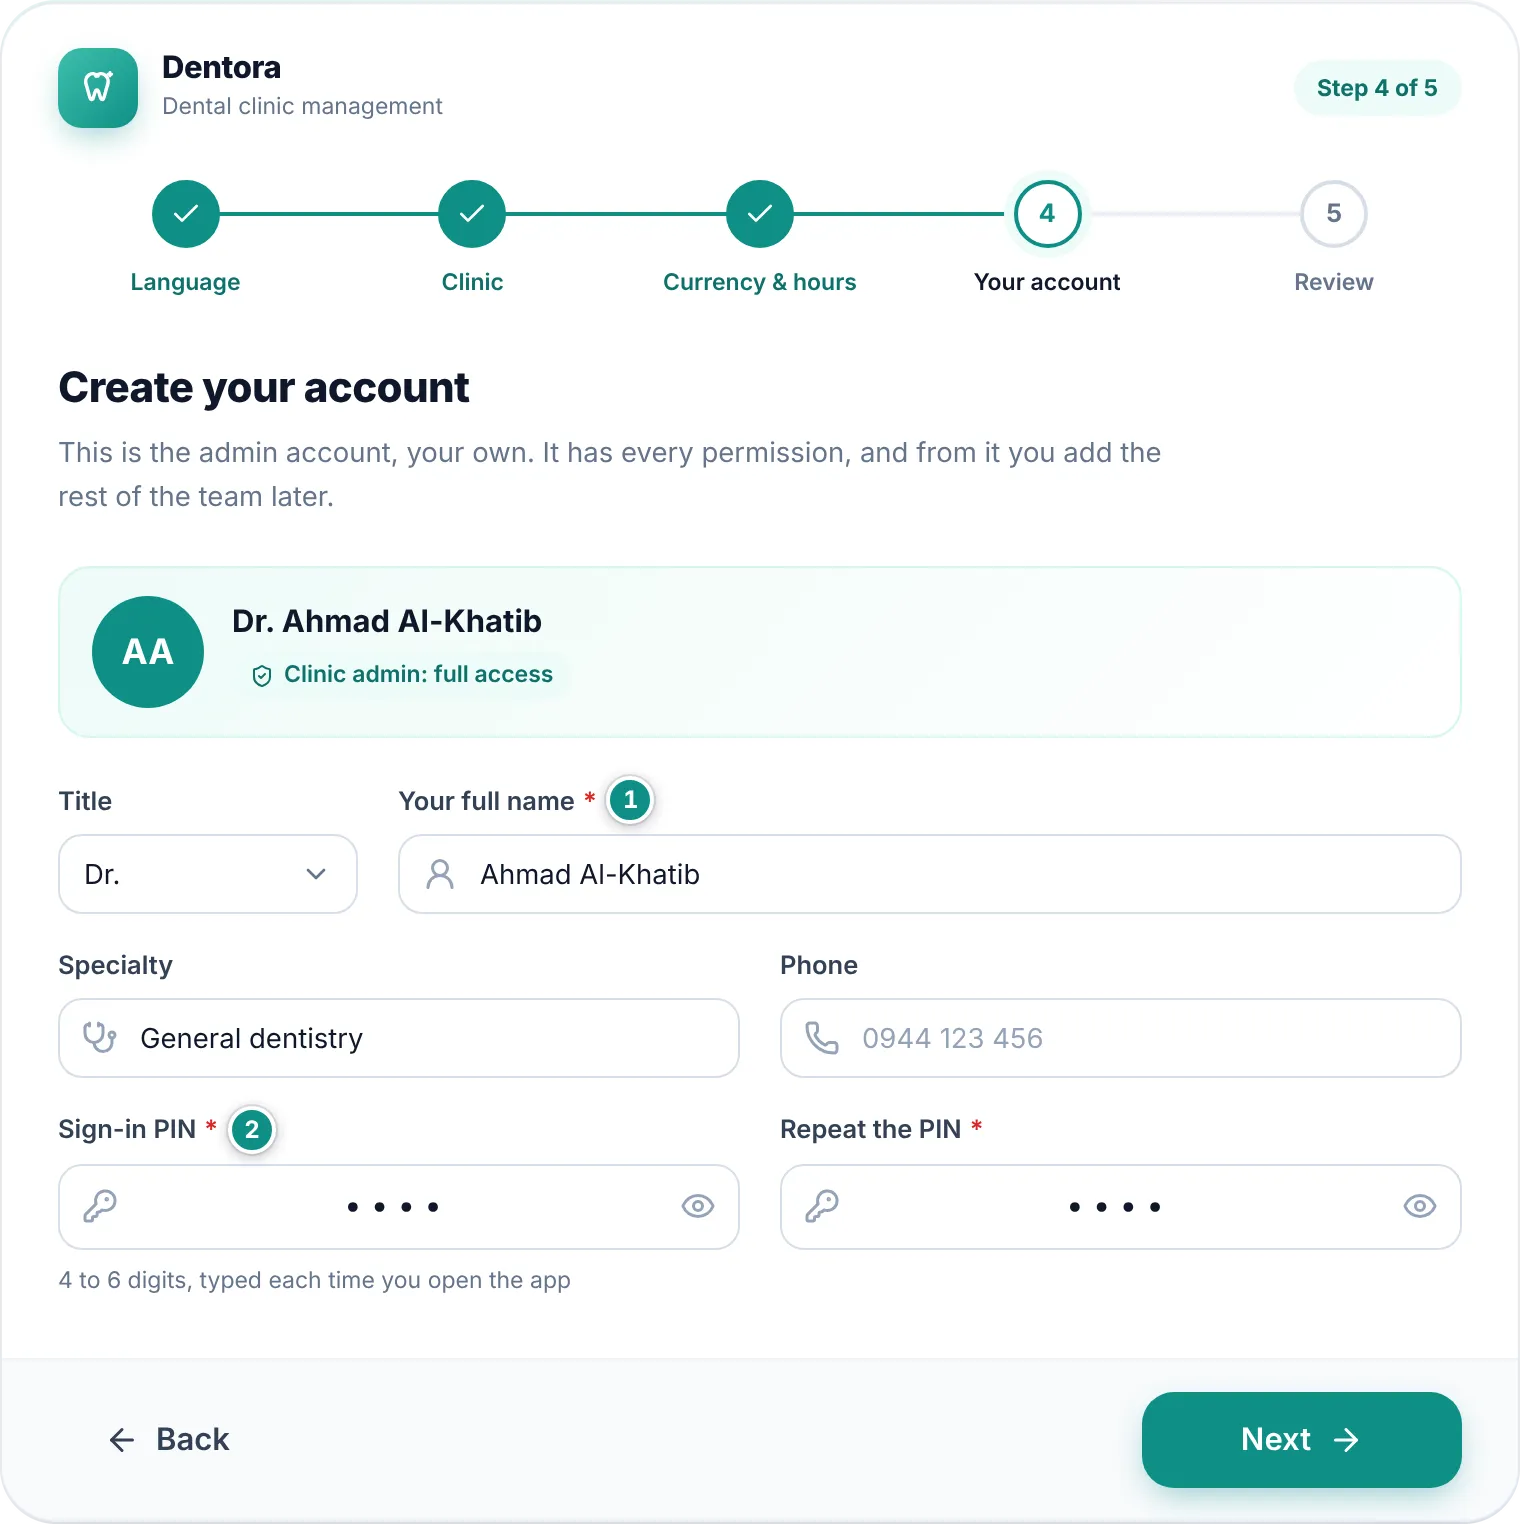
The account you create here is the clinic admin’s account, with every permission. From it you add the rest of the team later.
- On the Your account step choose your Title and type Your full name. Add your Specialty and Phone if you like.
- Choose a Sign-in PIN of 4 to 6 digits, type it again in Repeat the PIN, then click Next.
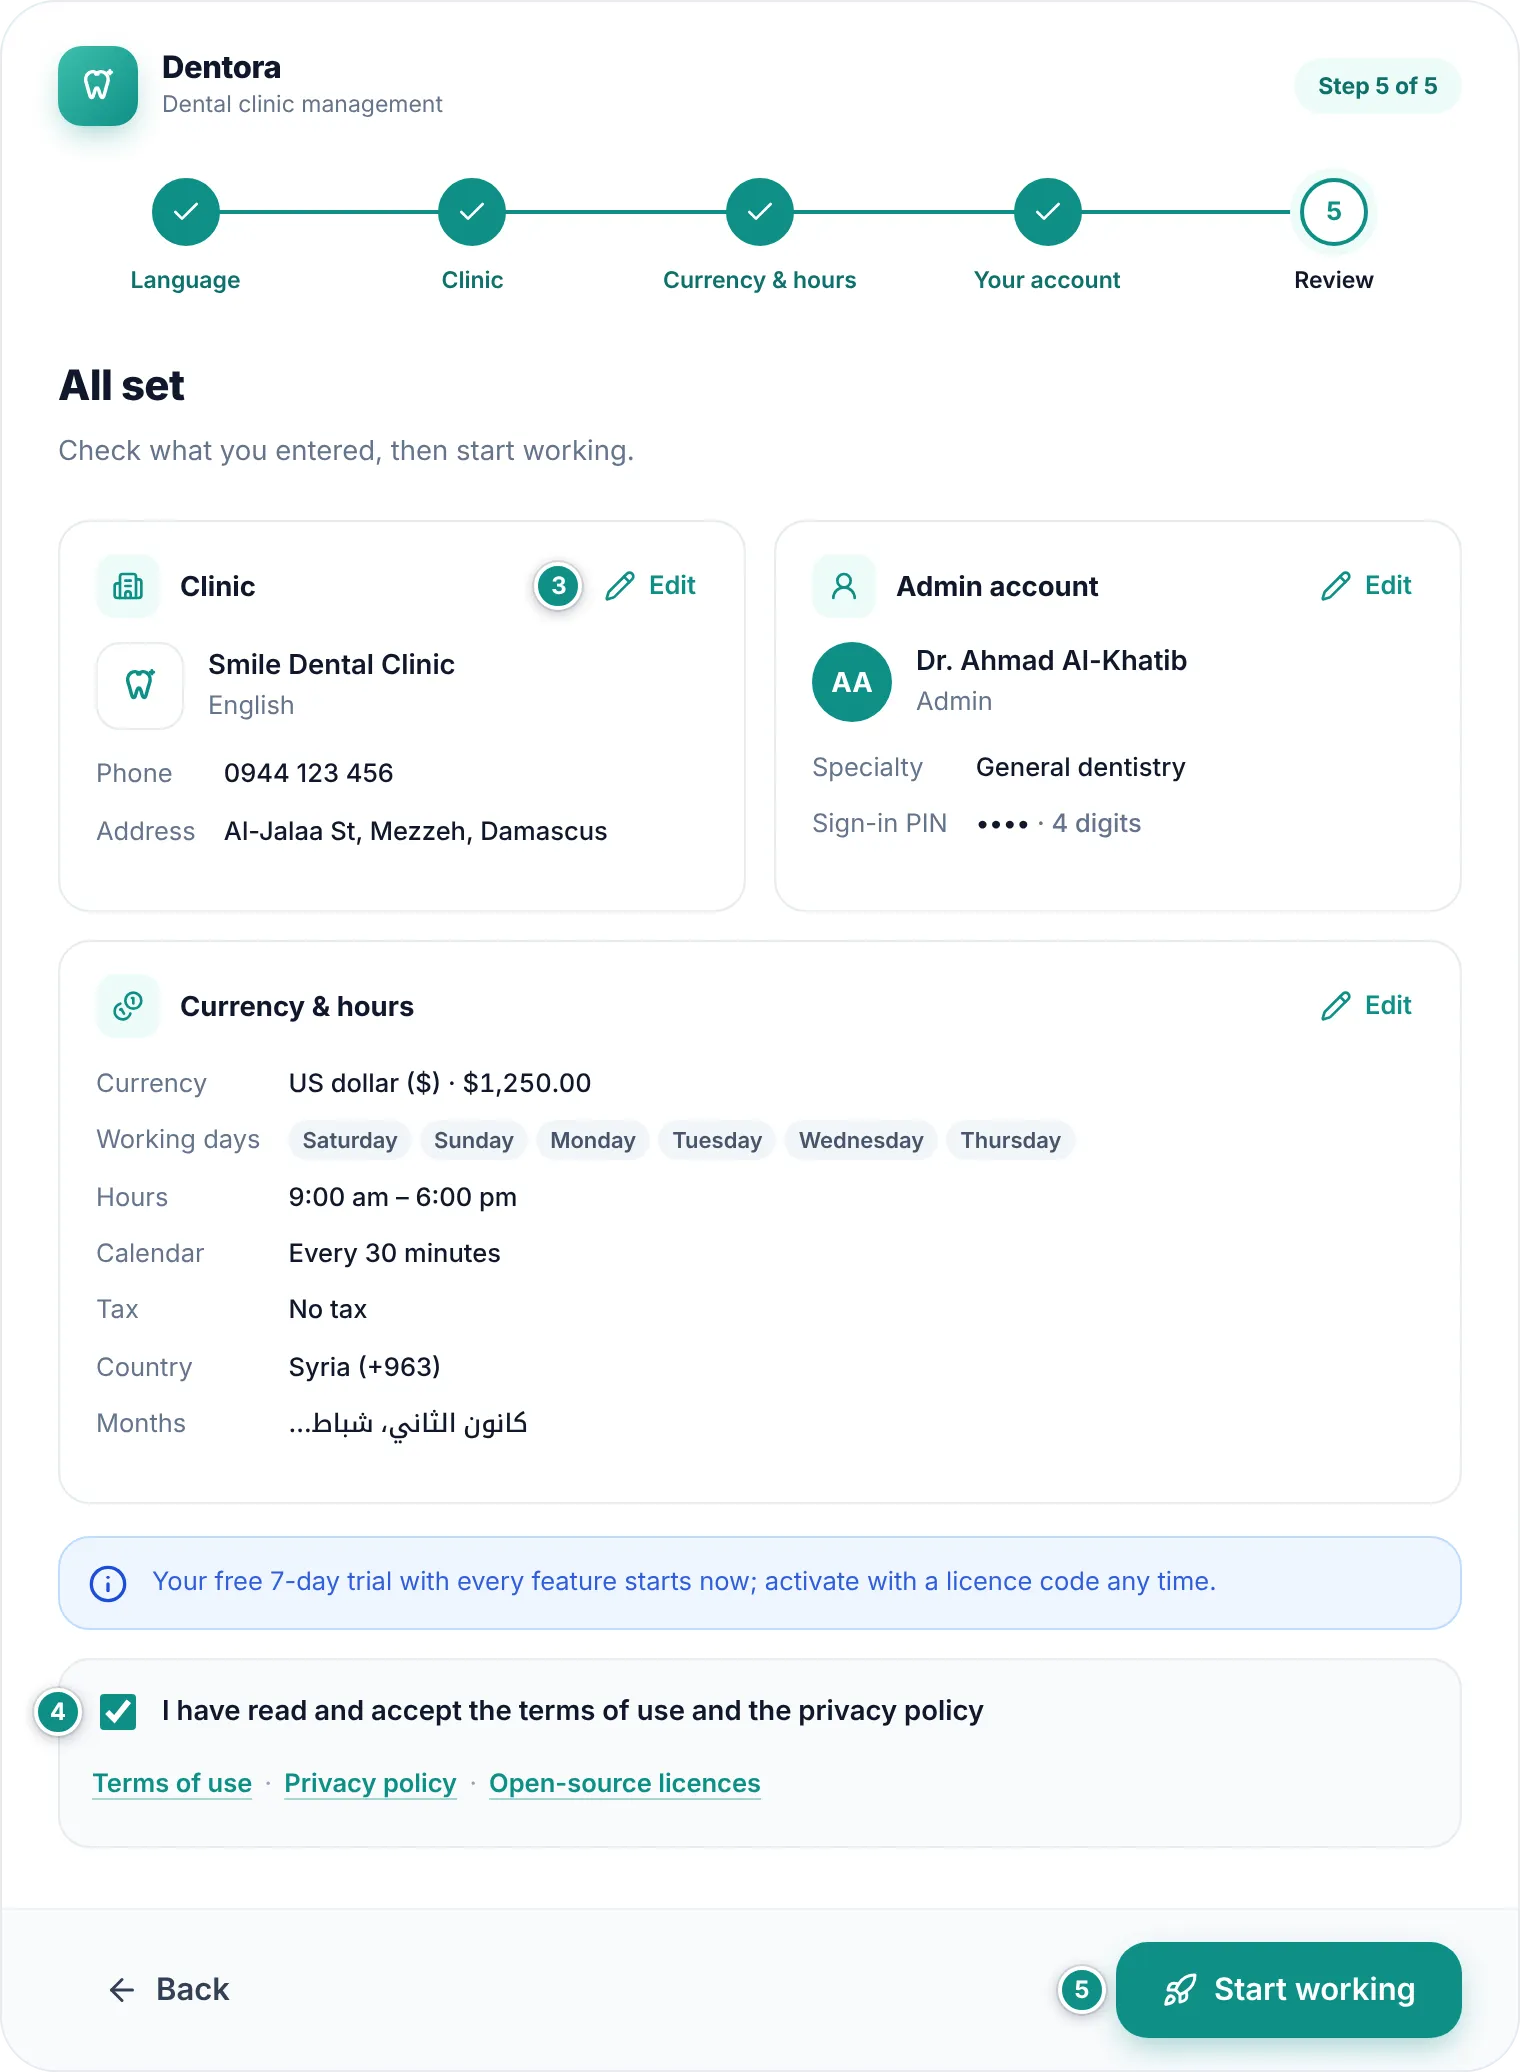
- On the Review step check what you entered. To correct something, click Edit on its card.
- Tick I have read and accept the terms of use and the privacy policy: the wizard does not go on without it. The links under the box open the Terms of use, the Privacy policy and the Open-source licences.
- Click Start working. Dentora prepares your clinic and takes you straight to the dashboard.
Have a backup? Restore it instead
If you reinstalled Dentora or moved to a new device, do not type everything in again. Restore your latest backup from the wizard’s first screen, and the clinic comes back as it was, with its patients, appointments, invoices and team accounts.
- Make the backup file (it ends in .dentora) reachable from the device: on a USB stick, in your Downloads folder, or in Google Drive.
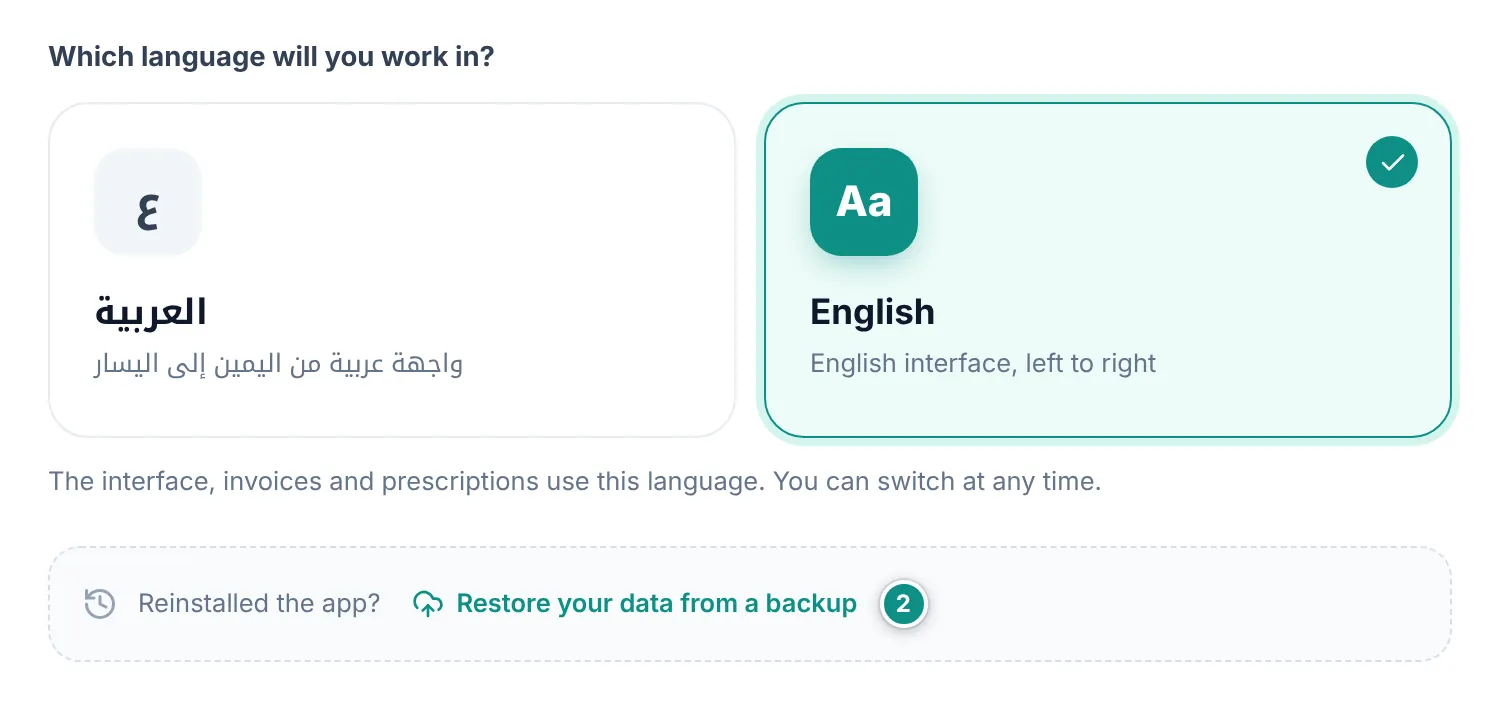
- On the wizard’s first screen, under Reinstalled the app?, click Restore your data from a backup.
- Choose the backup file. If it is password-protected, type the password when asked.
- Wait for the restore to finish: Dentora restarts. Then sign in with your usual name and PIN.
Signing in every day
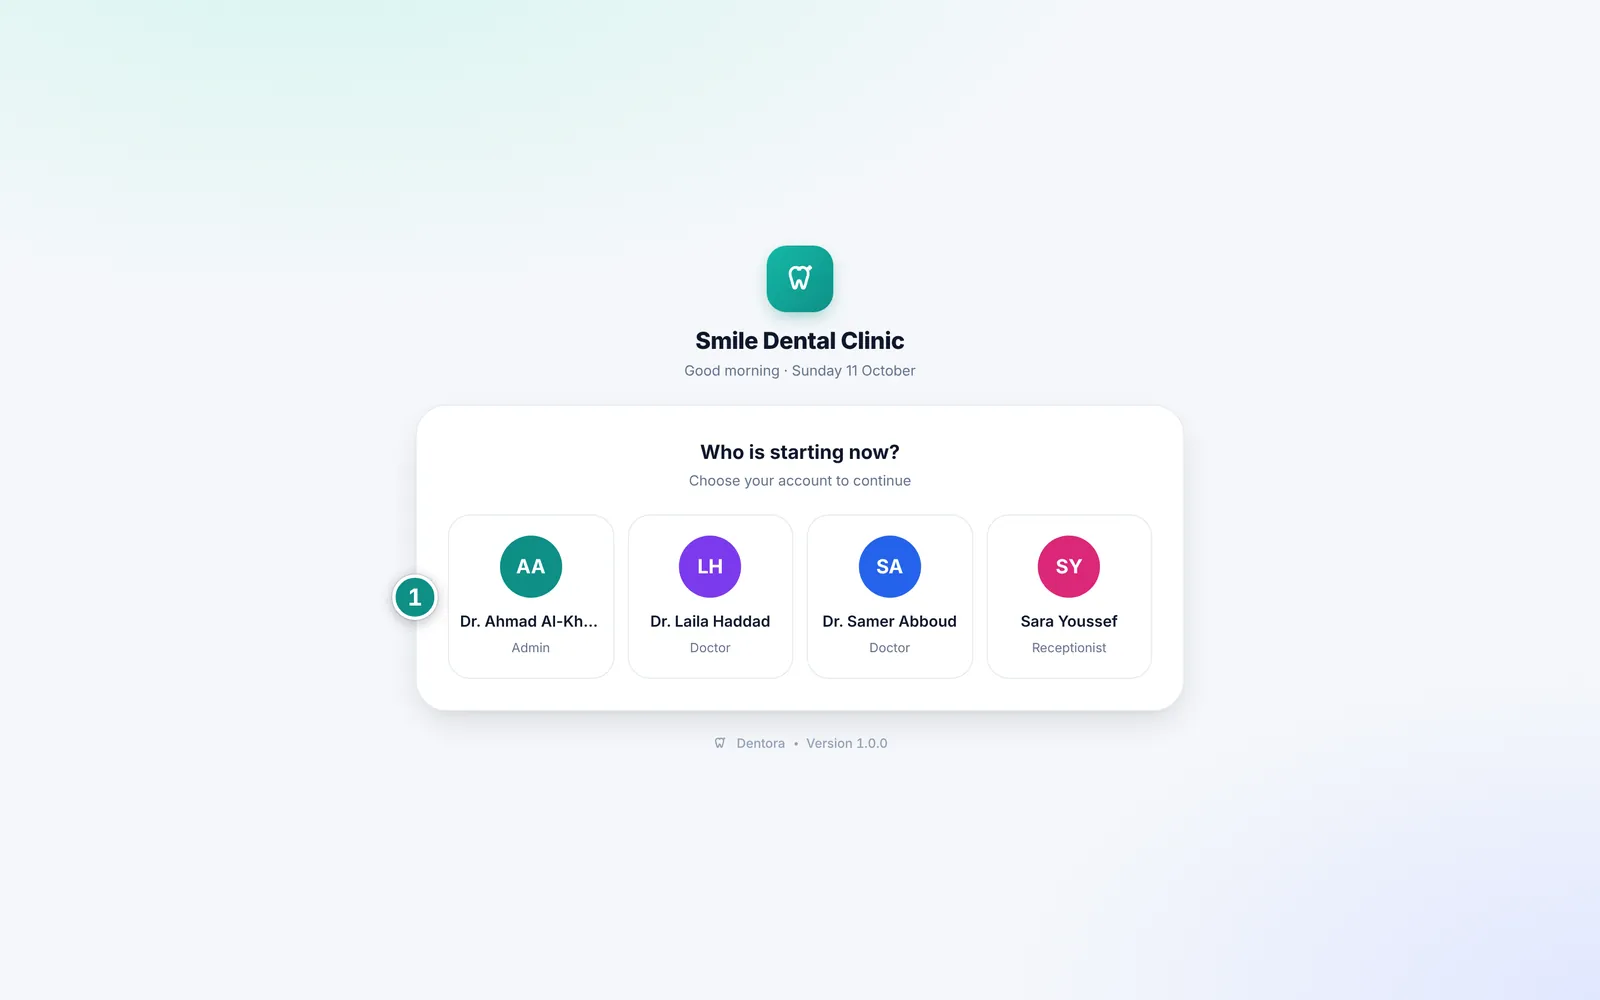
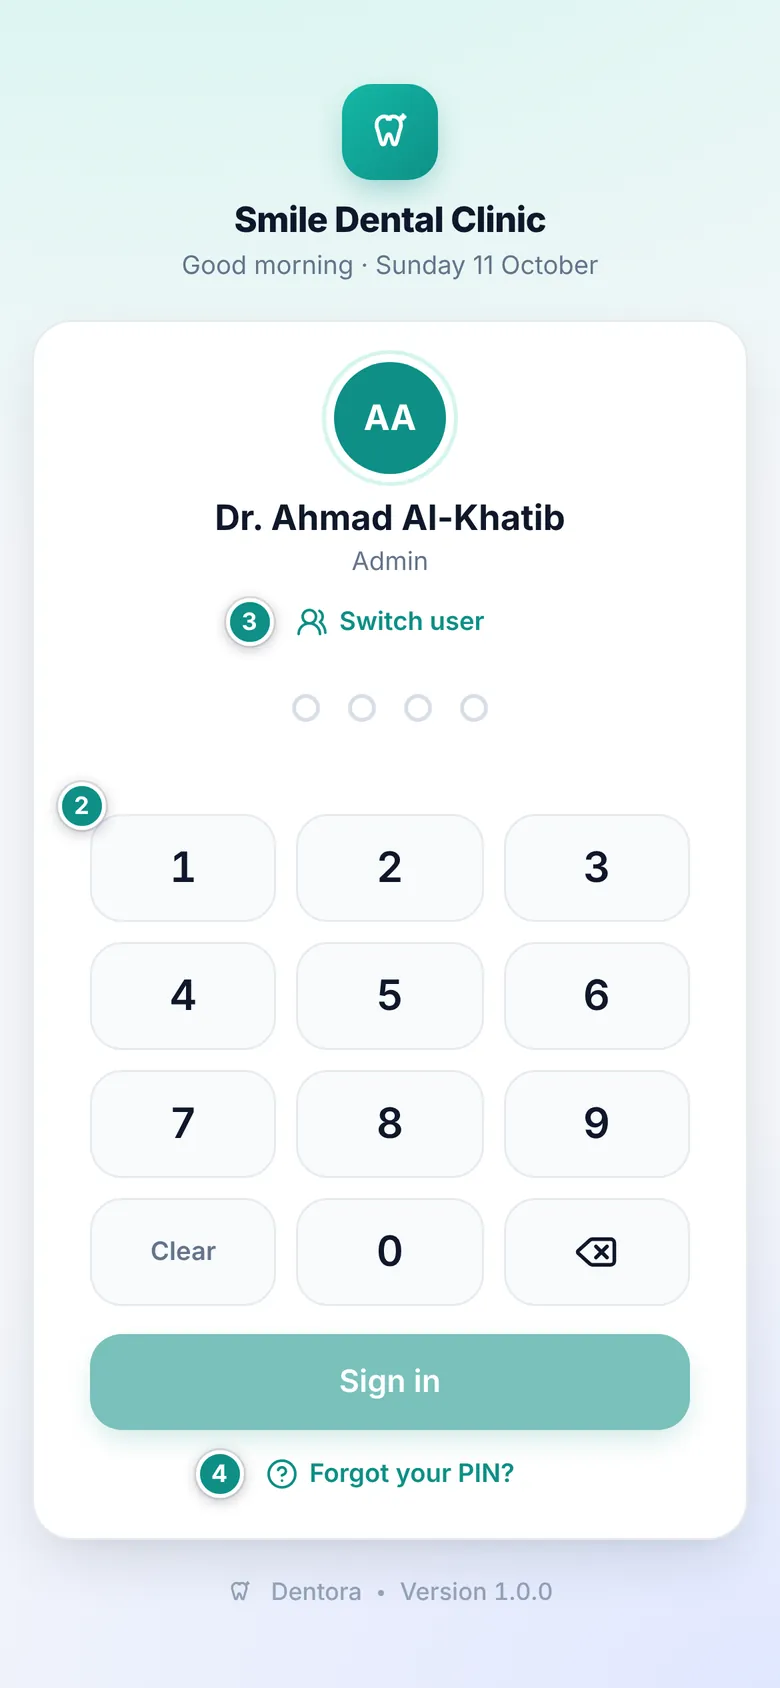
Dentora asks for a PIN every time it opens, and after every lock. That way nobody sees patient files on a device left unattended.
- On Who is starting now? click your name. If the clinic has only one account, or you were the last to sign in on this device, the keypad shows straight away.
- Type your PIN on the keypad or the keyboard. Dentora signs you in as soon as the PIN is complete, or click Sign in.
- For someone else to sign in, click Switch user.
- If you forgot your PIN, click Forgot your PIN? to see what to do.
Your first steps
Your clinic is ready to work. These steps make it fully ready, and you only do them once.
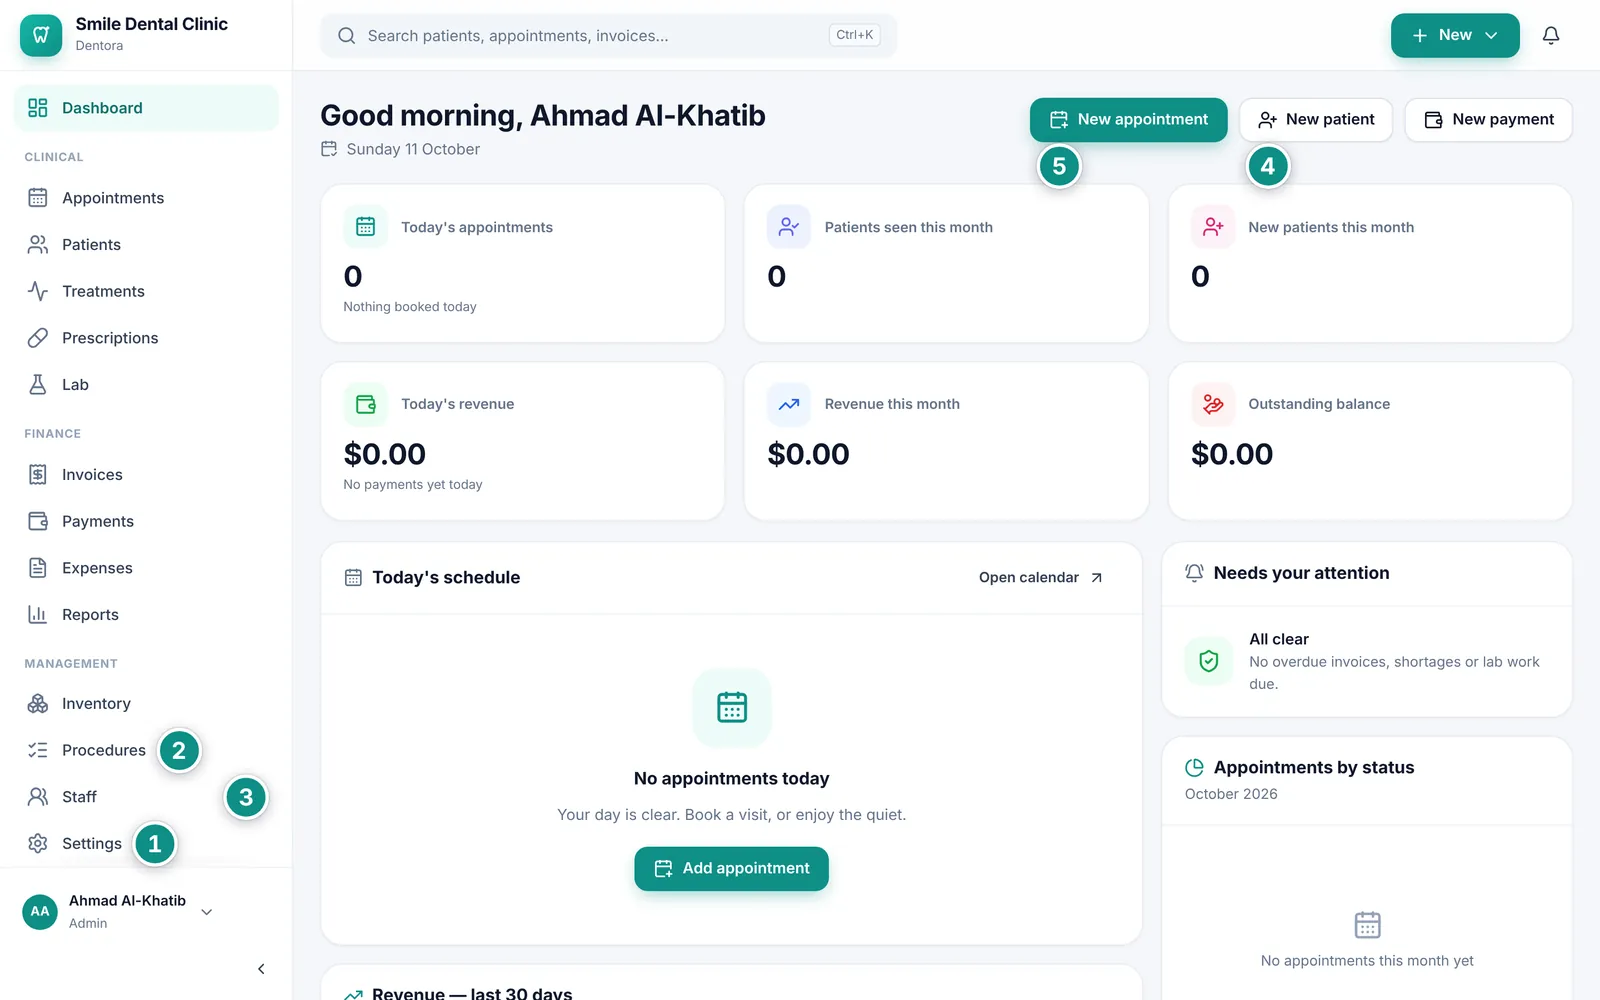
- Open Settings and complete the clinic details: logo, English name and contacts. See Clinic details.
- Open Procedures and review the suggested prices; change them to match your clinic. See Procedures and prices.
- Open Staff and add your doctors, assistants and receptionists, each with a role and a PIN. See Adding a team member.
- Click New patient to open your first patient file. See Adding a new patient.
- Click New appointment to book your first appointment. See Booking an appointment.
- At the end of the day save your first backup from Settings → Backup & data. See Saving a backup.