Skip to content
Dentora
العربية
  1. Home
  2. User guide
  3. Settings

Settings

Make Dentora fit your clinic: its details and logo on every printout, the currency, tax and invoice numbering, the language, font and appearance, the working hours and auto-lock.

Watch this topic on video
On this page
  1. The Settings page
  2. Clinic details
  3. Currency and how amounts look
  4. Tax, invoice numbering and printed notes
  5. Language, month names, font and appearance
  6. Working days and hours
  7. Auto-lock
  8. About

The Settings page

Open Settings from the sidebar or from your account menu. A list of its sections runs down the side of the page: Clinic, Preferences, Billing & currency, Backup & data, Licence and About.

This page covers every section except two that have pages of their own: Backup and Licence. Adding your team and their permissions is in Staff and permissions.

  1. Open Settings from the sidebar.
  2. Pick a section from the list.
  3. Make your changes. In Clinic and Billing & currency a You have unsaved changes bar appears at the bottom: click Save changes, or Discard to throw your edits away. Most Preferences are saved the moment you click.
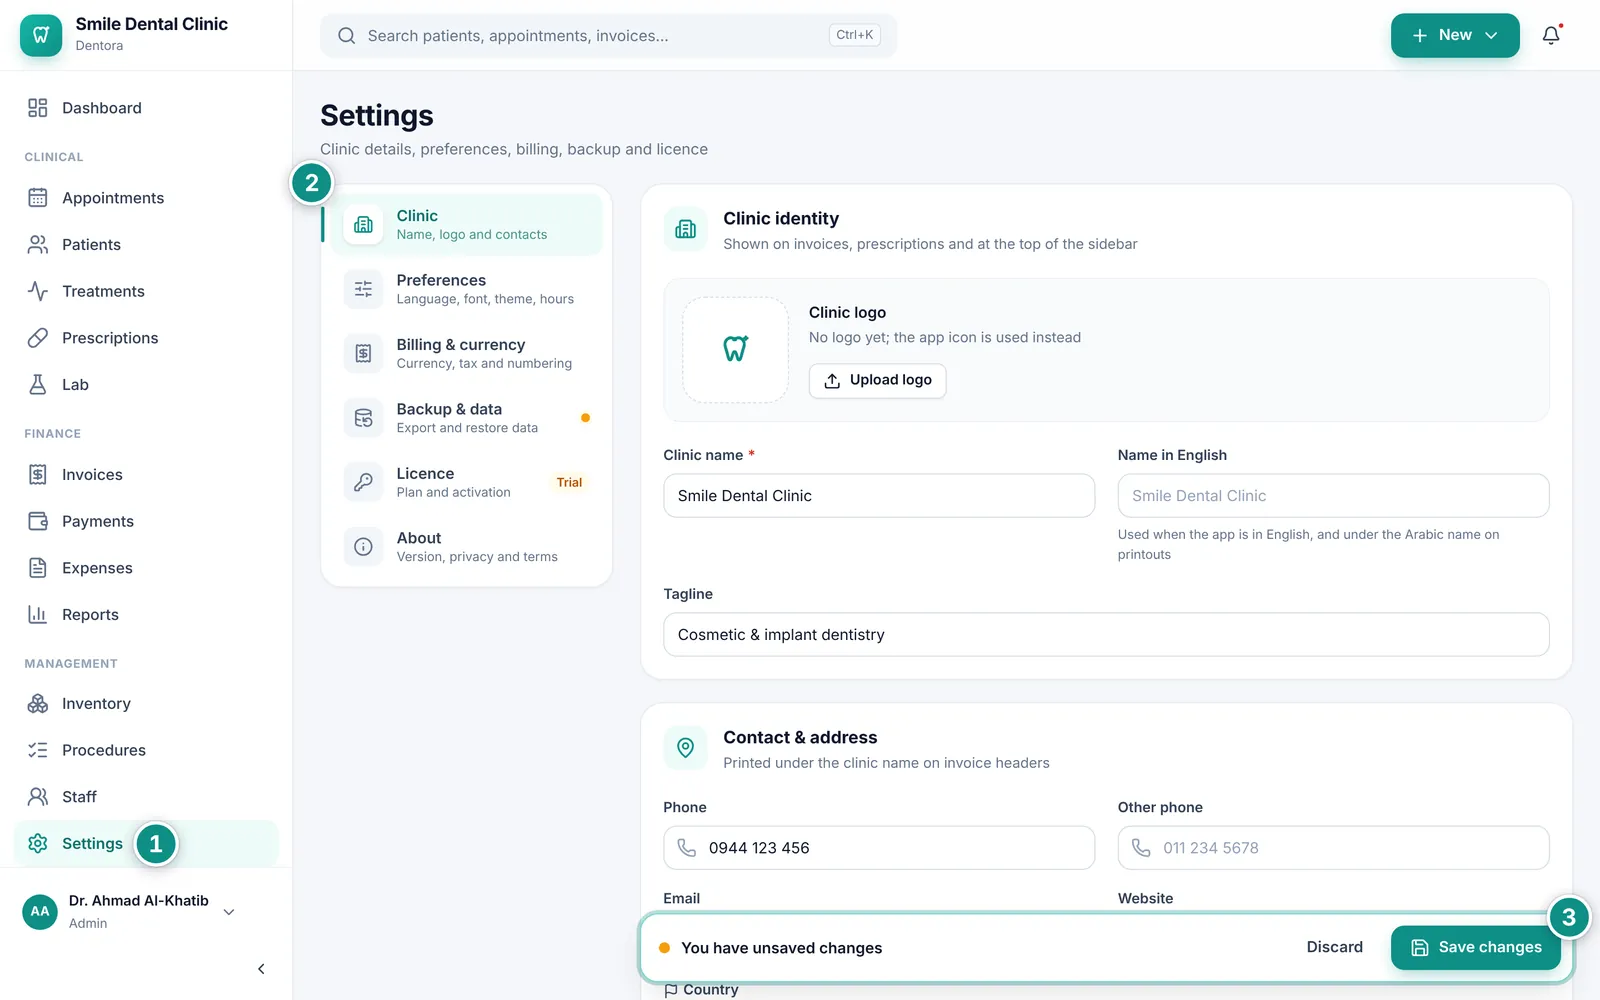
The Settings page on Clinic, with the section list and the save barEnlarge the picture
The save bar appears at the bottom as soon as you change something.
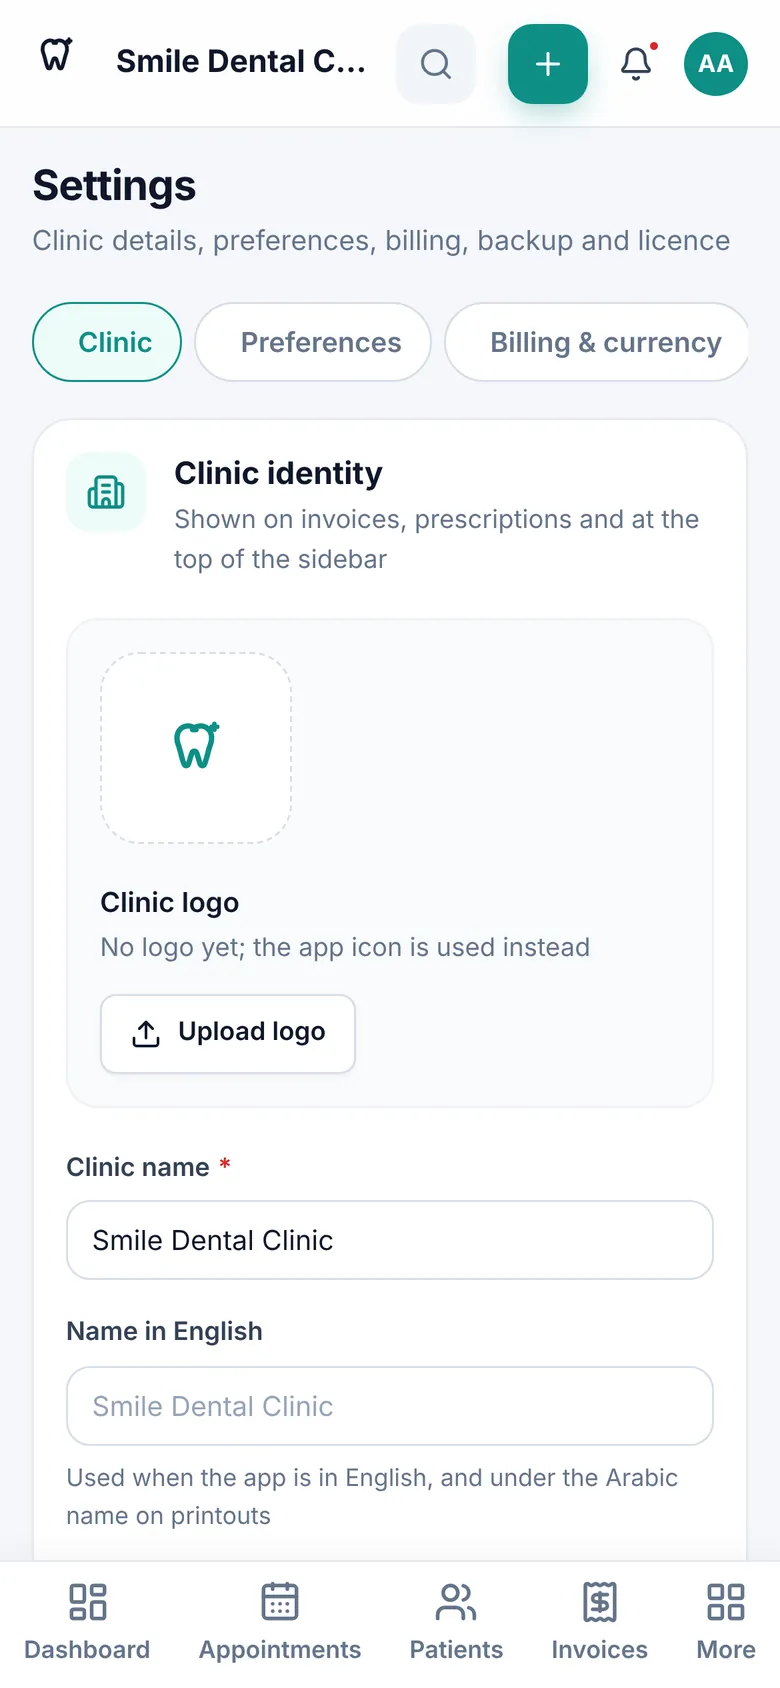
Settings on a phone: the sections as buttons at the topEnlarge the picture

Good to know

  • Only the clinic admin changes these settings. The rest of the team sees the page with the message “Only an administrator can change these settings.”, and can only change the interface font on their own device.
  • The Backup & data section shows for the admin only. On a computer, an orange dot next to it in the section list means a backup is due.
  • If you try to leave with unsaved changes, Dentora asks Leave without saving?: choose Stay here or Leave and discard.
  • On a phone the sections become buttons across the top of the page; swipe them sideways.
  • While Dentora is read-only, changes to Clinic, Billing & currency and Working days & hours cannot be saved until you activate. Language, month names, font, appearance and auto-lock can still be changed.

Clinic details

This is your clinic’s identity as it appears at the top of printed invoices, prescriptions and treatment plans, at the top of the sidebar and on the sign-in screen.

  1. Open Settings → Clinic.
  2. Click Upload logo and choose your logo picture. Later you can Change logo or Remove it.
  3. Type the Clinic name and, if you like, the Name in English and a Tagline, such as the clinic’s specialty or its doctor’s name.
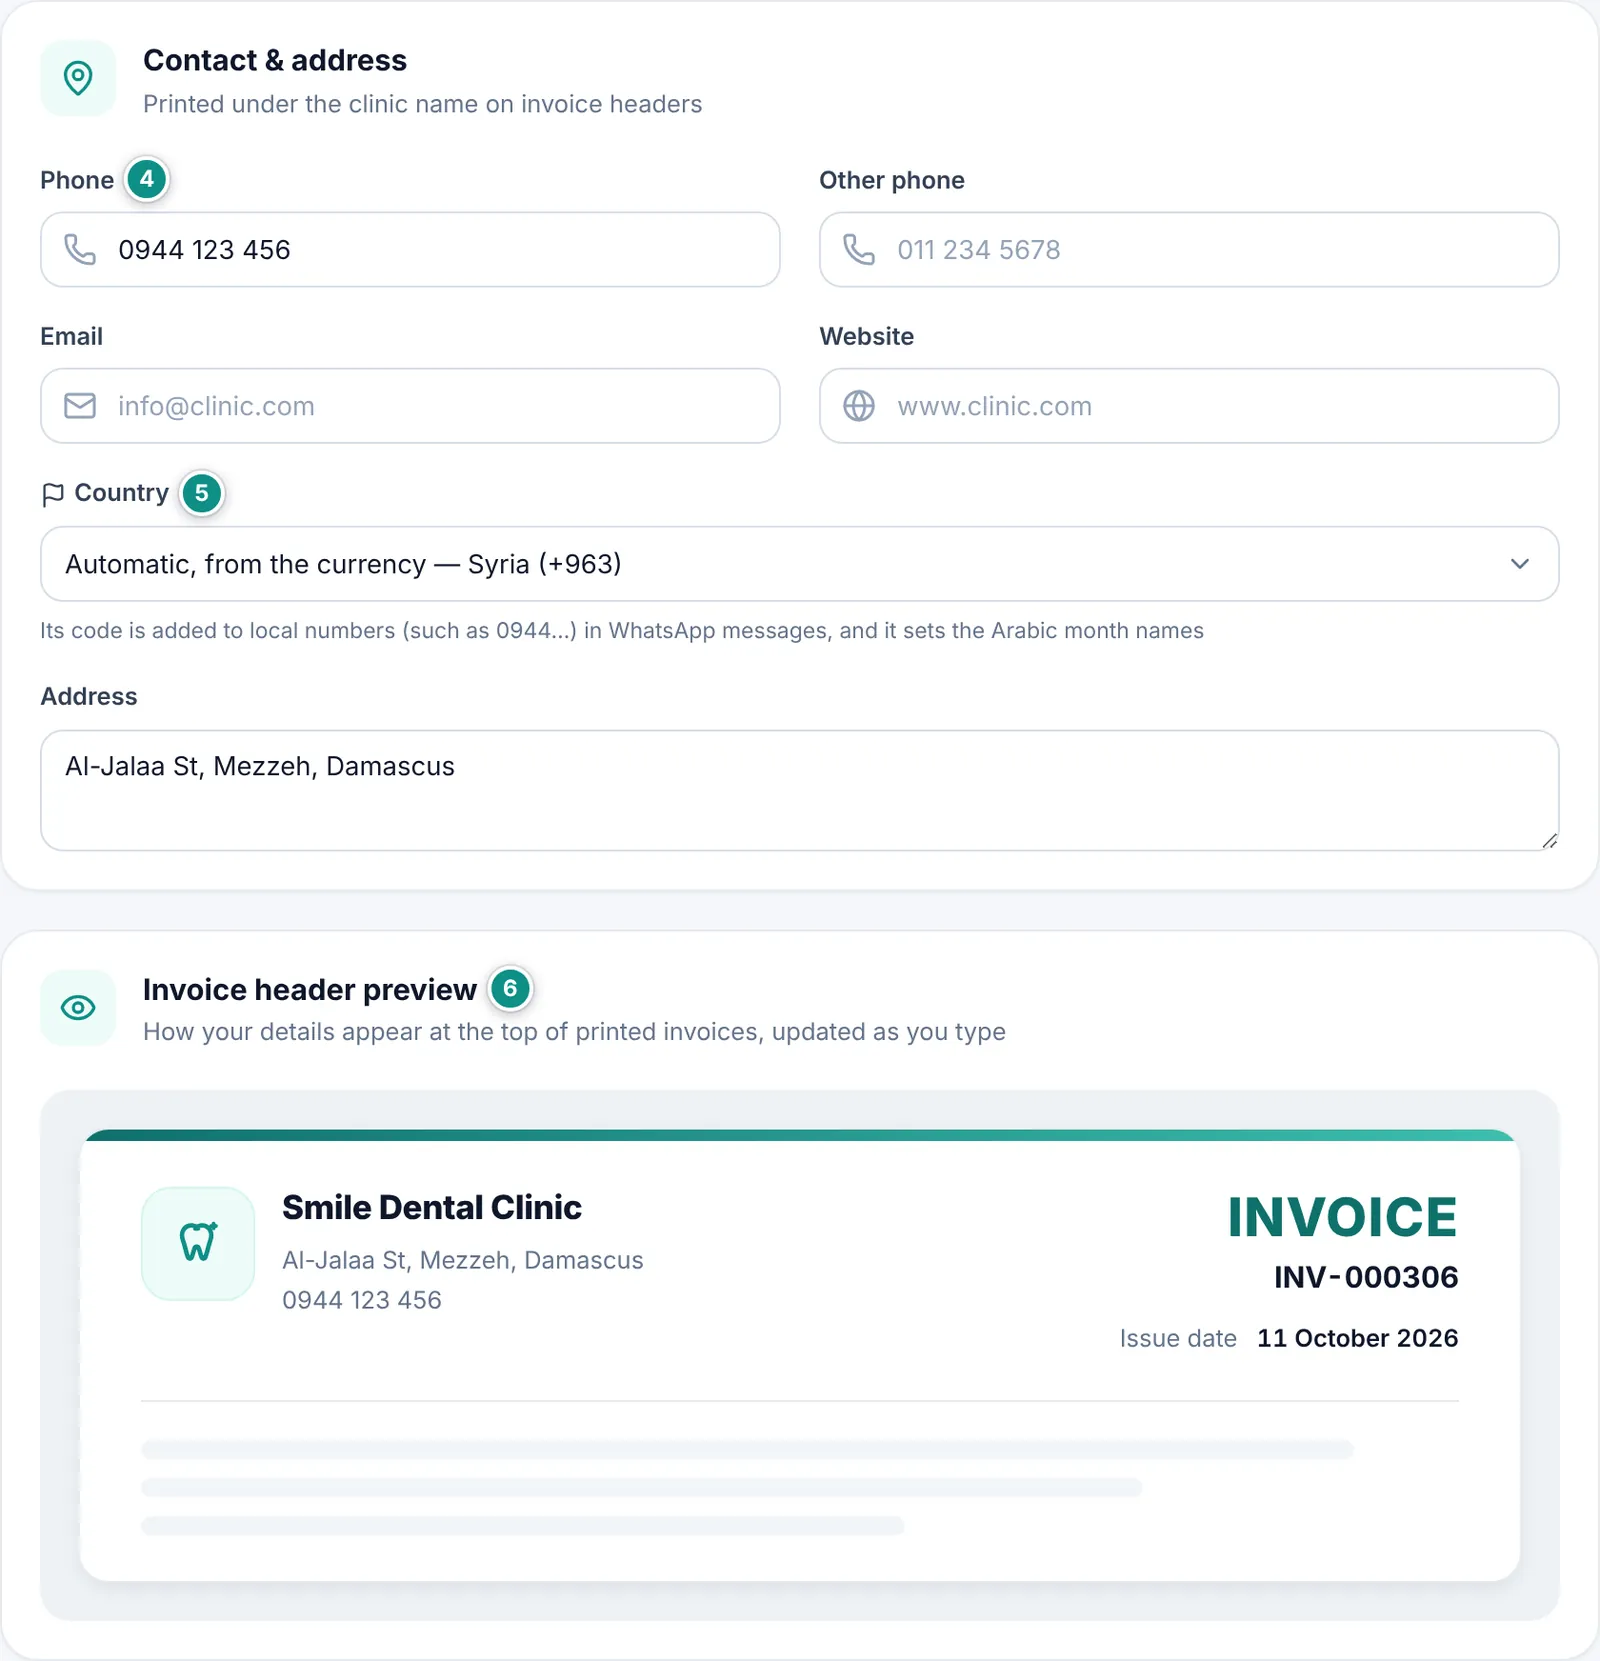
  4. Under Contact & address add the Phone, Other phone, Email, Website and Address.
  5. Check the Country. It stays on the automatic choice, from the currency, unless you pick another.
  6. Watch the Invoice header preview update as you type, then click Save changes.
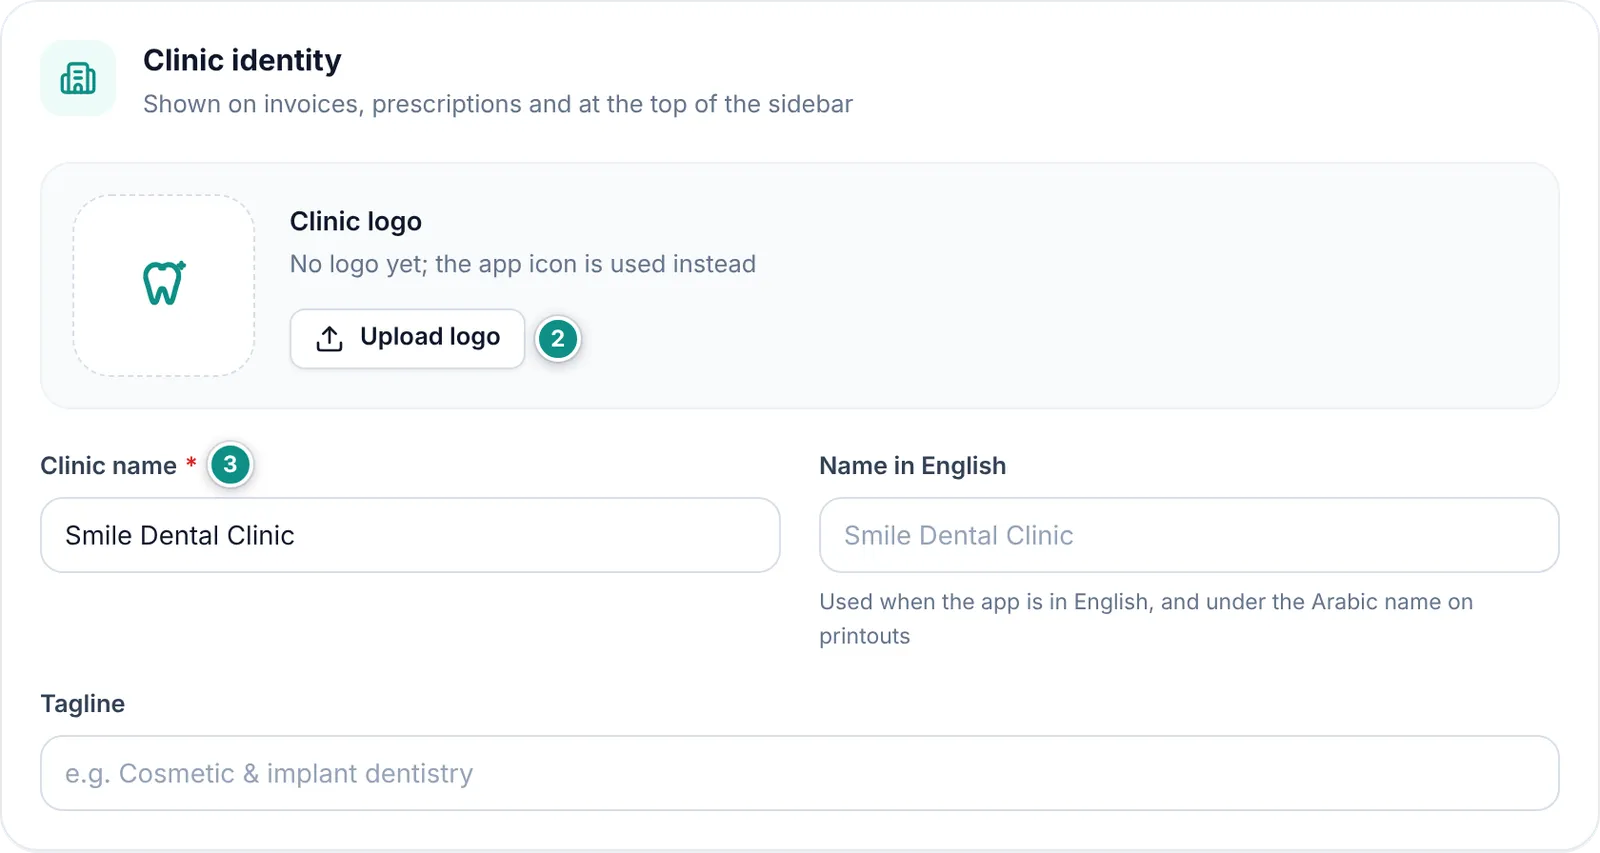
The Clinic identity card: logo, clinic name, English name and taglineEnlarge the picture
The Contact & address card with the country, and the invoice header previewEnlarge the picture

Good to know

  • The logo is a square PNG or JPG picture, resized for you. Without a logo, the app’s icon shows in its place.
  • The English name is used when the interface is in English, and under the Arabic name on printouts.
  • The Country sets the calling code added to local numbers (such as 0944…) in WhatsApp messages, and the Arabic month names when those are left on automatic.
  • Only the Clinic name is required. Phone numbers, email and website are checked before saving, and a wrong field turns red.

Currency and how amounts look

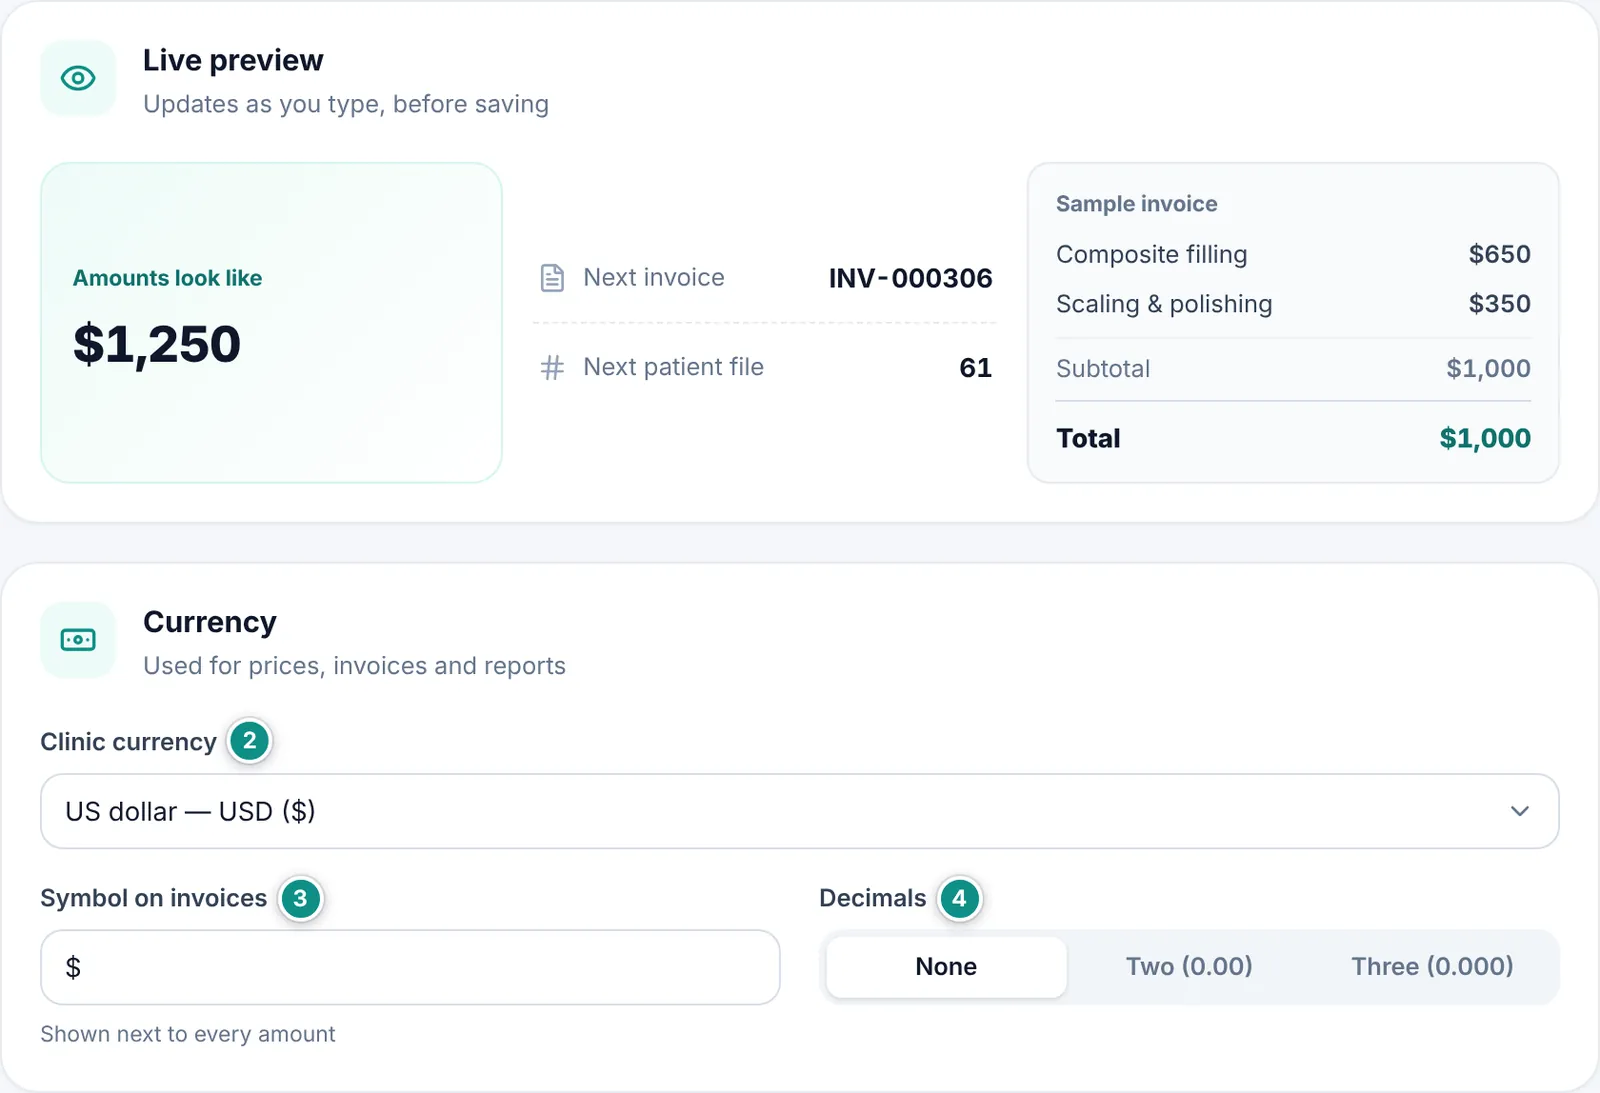
In Billing & currency you choose the clinic’s currency and how amounts are written. A Live preview at the top updates with every change, before you save: how amounts look, the next invoice number, the next patient file number and a sample invoice.

  1. Open Settings → Billing & currency.
  2. Choose the Clinic currency. If yours is not listed, choose Another currency… and type its Latin Currency code.
  3. Change the Symbol on invoices if you prefer another symbol next to every amount.
  4. Choose the Decimals: None, Two (0.00) or Three (0.000).
  5. Click Save changes.
The live preview and the Currency card: clinic currency, symbol and decimalsEnlarge the picture

Good to know

  • Changing the currency does not convert amounts already recorded; only the symbol shown changes. So pick the right currency before you start billing.
  • The Kuwaiti, Bahraini and Jordanian dinars and the Omani rial are usually written with three decimals.

Tax, invoice numbering and printed notes

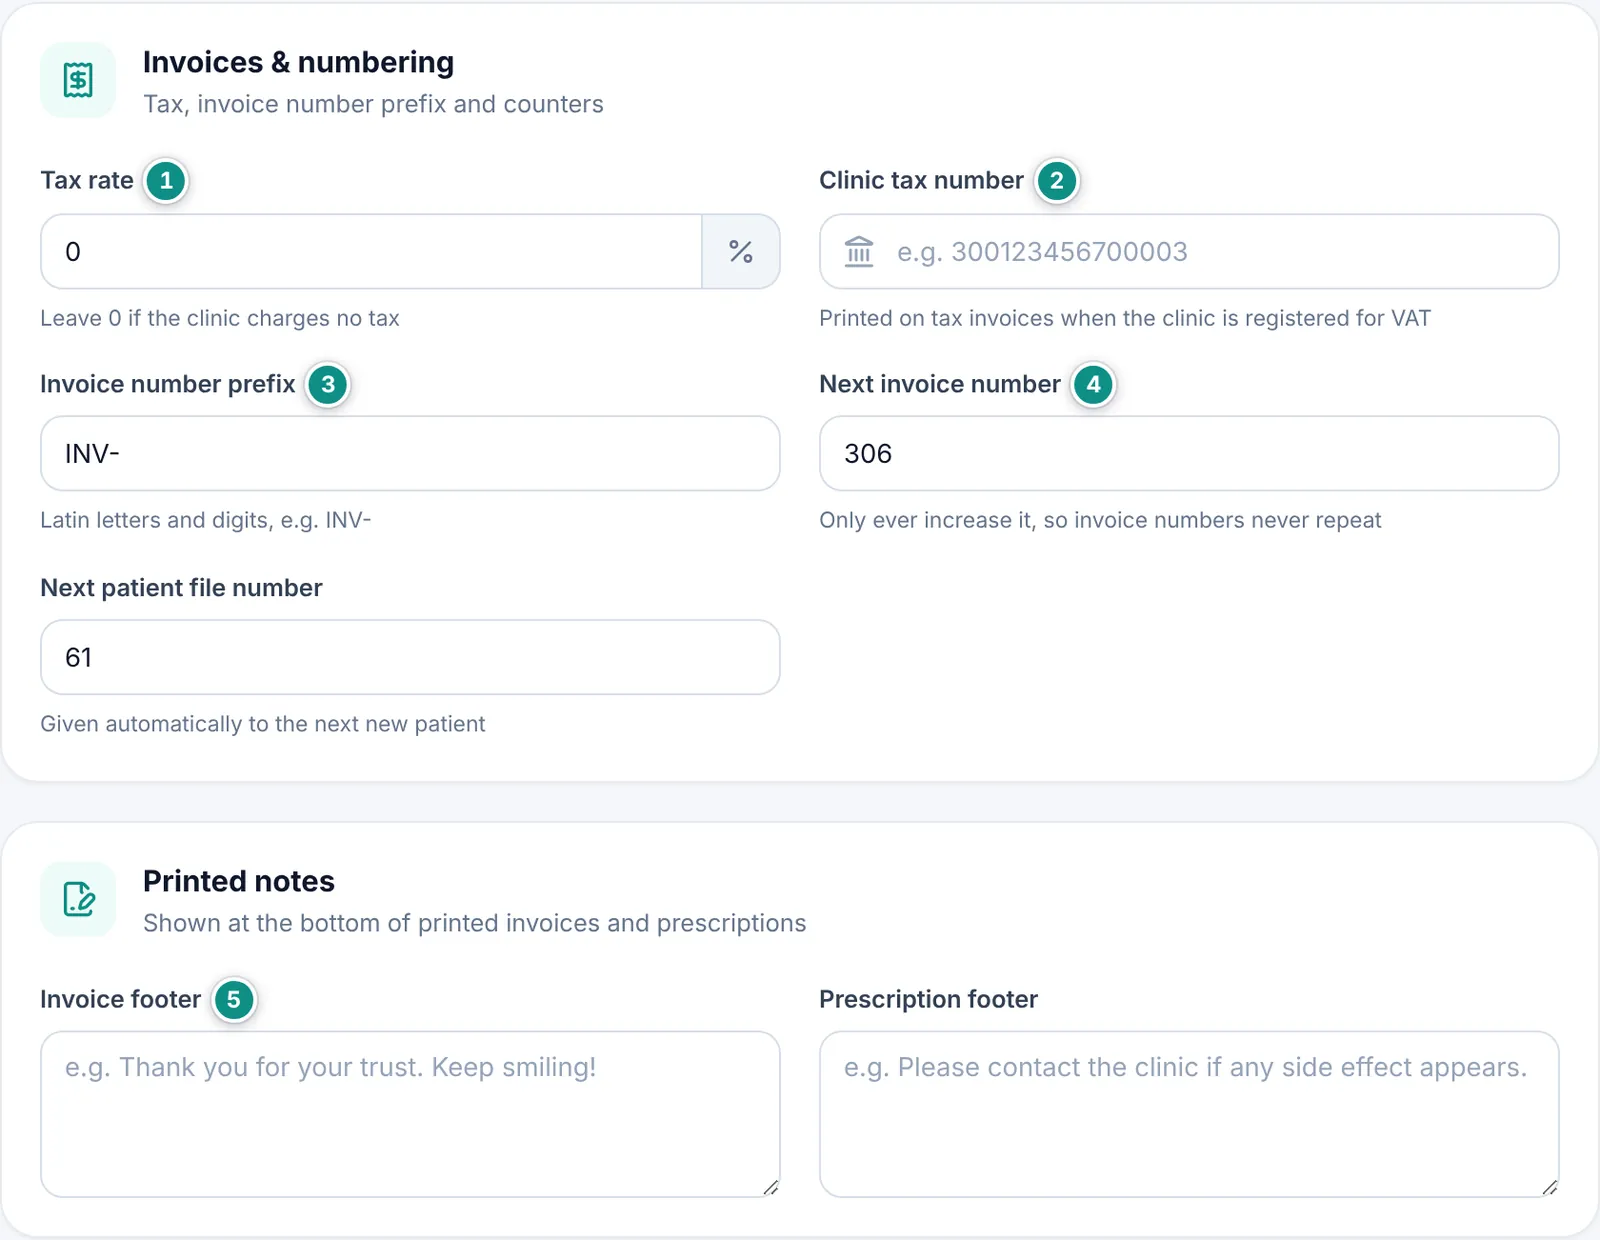
  1. Under Invoices & numbering type the Tax rate, or leave it at 0 if your clinic charges no tax.
  2. If the clinic is registered for VAT, type the Clinic tax number: it is printed on tax invoices.
  3. Change the Invoice number prefix if you like. An invoice number is the prefix followed by six digits, such as INV-000306.
  4. Adjust the Next invoice number and Next patient file number if you want numbering to carry on from your clinic’s old records.
  5. Under Printed notes write the Invoice footer and the Prescription footer: short texts printed at the bottom.
  6. Click Save changes.
The Invoices & numbering and Printed notes cardsEnlarge the picture

Good to know

  • The tax rate is filled in on every new invoice and can still be changed on the invoice itself. Invoices already issued do not change.
  • Dentora does not accept a next invoice number equal to or below the last invoice issued with the same prefix, so numbers never repeat (a new prefix starts a new series). The same goes for the patient file number.
  • The prefix takes Latin letters, digits and the signs - / _ . # only, up to 10 characters.
  • If you leave the prescription footer empty, a default text is printed wishing the patient a speedy recovery and reminding them to follow the doses.
  • If you leave the invoice footer empty, a default thank-you line is printed: “Thank you for trusting us. We wish you lasting health and a bright smile.” The invoice footer is also printed on account statements.
  • Invoices and how to print them: Invoices and payments.

Language, month names, font and appearance

In Preferences each settings card carries a badge saying who it applies to: All users or This device. Language, month names, font, appearance and auto-lock are saved the moment you choose them, with no save button; Working days & hours has its own save button (see below).

  1. Open Settings → Preferences.
  2. Under Interface language choose العربية or English. Screens and printouts switch at once.
  3. Under Arabic month names choose Automatic, from the country, كانون الثاني، شباط… or يناير، فبراير…. Each choice shows today’s date as an example.
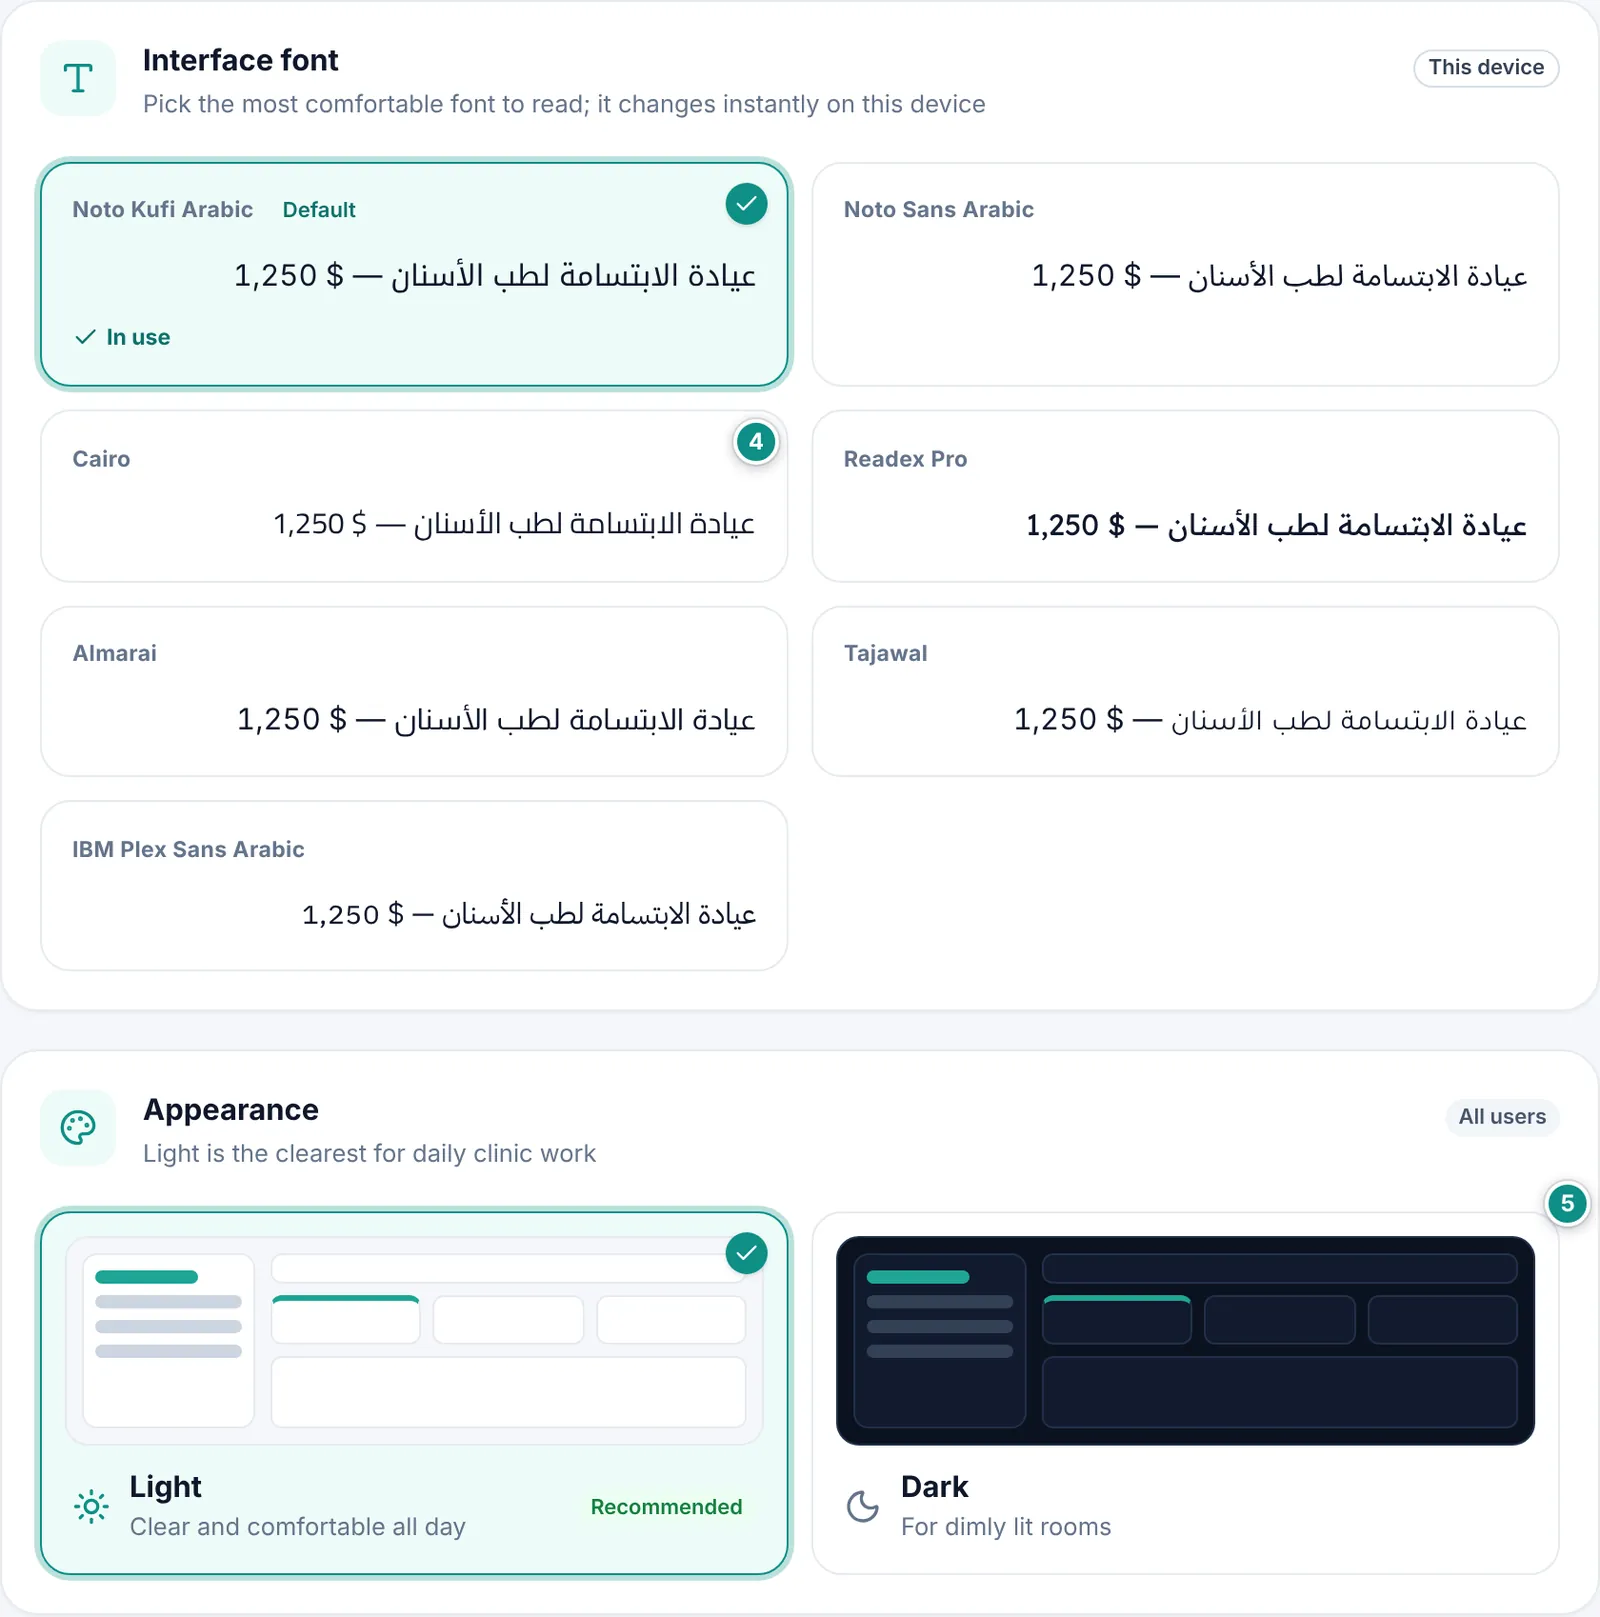
  4. Under Interface font click the font you find most comfortable; it changes at once on this device.
  5. Under Appearance choose Light or Dark.
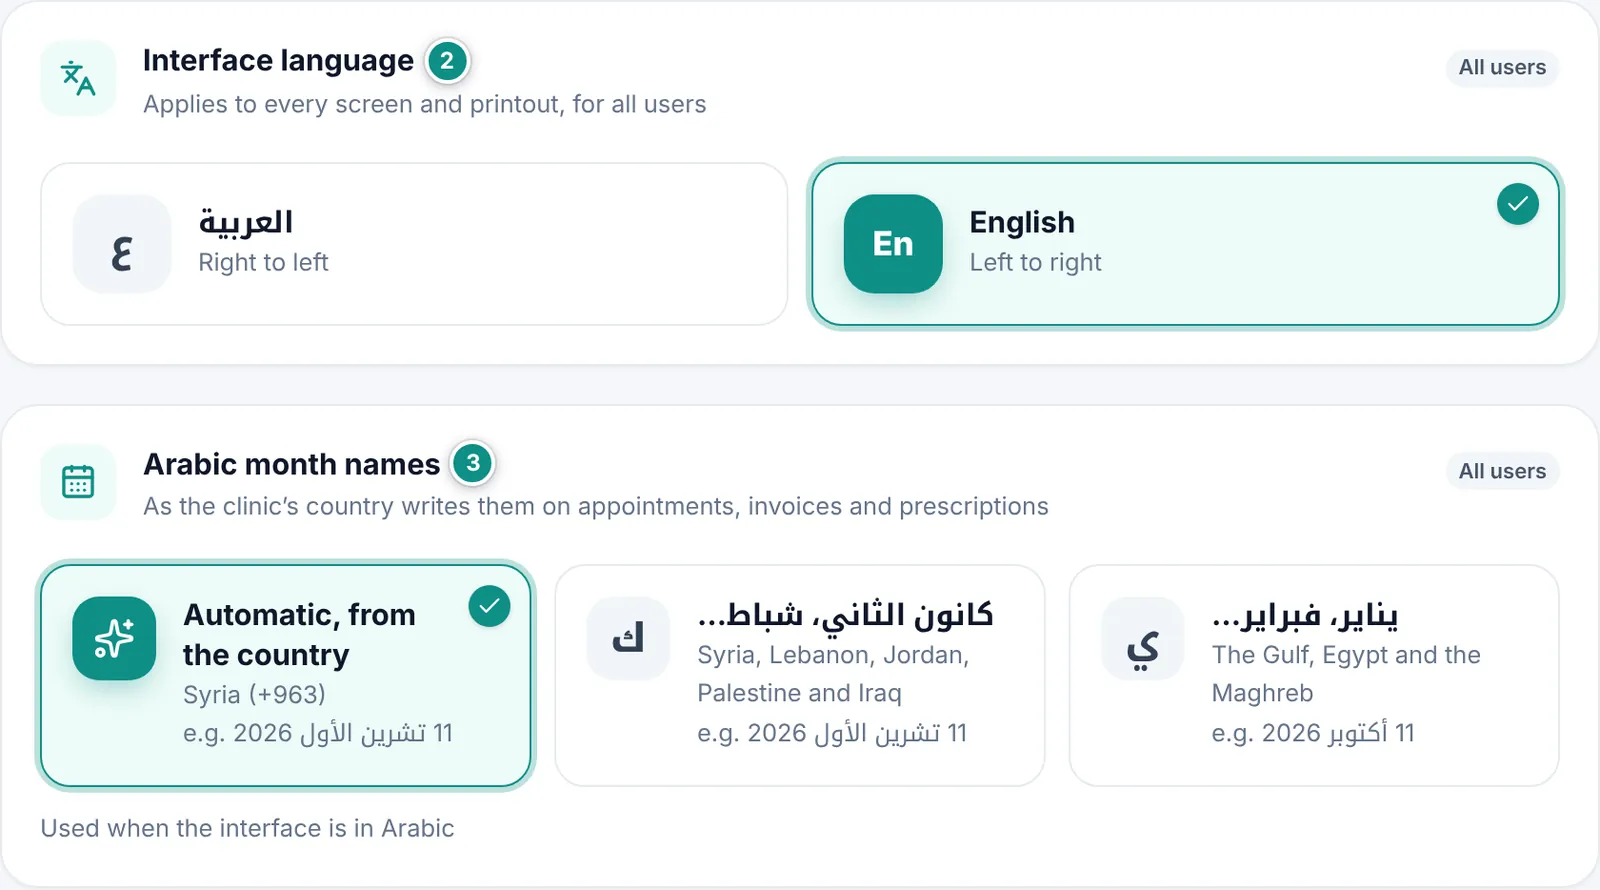
The Interface language and Arabic month names cardsEnlarge the picture
Choosing the interface font and the light or dark appearanceEnlarge the picture

Good to know

  • Language, month names and appearance apply to all users and only the admin changes them. The font belongs to this device and anyone can change it.
  • Month names only matter in the Arabic interface: كانون الثاني, شباط… in Syria, Lebanon, Jordan, Palestine and Iraq; يناير, فبراير… in the Gulf, Egypt and the Maghreb.
  • Numbers use Western digits (0–9) in both languages, and Arabic-Indic digits (٠–٩) typed into search or a PIN are understood.

Working days and hours

The appointments calendar and its free slots are built on your working days and hours. This section has its own save button.

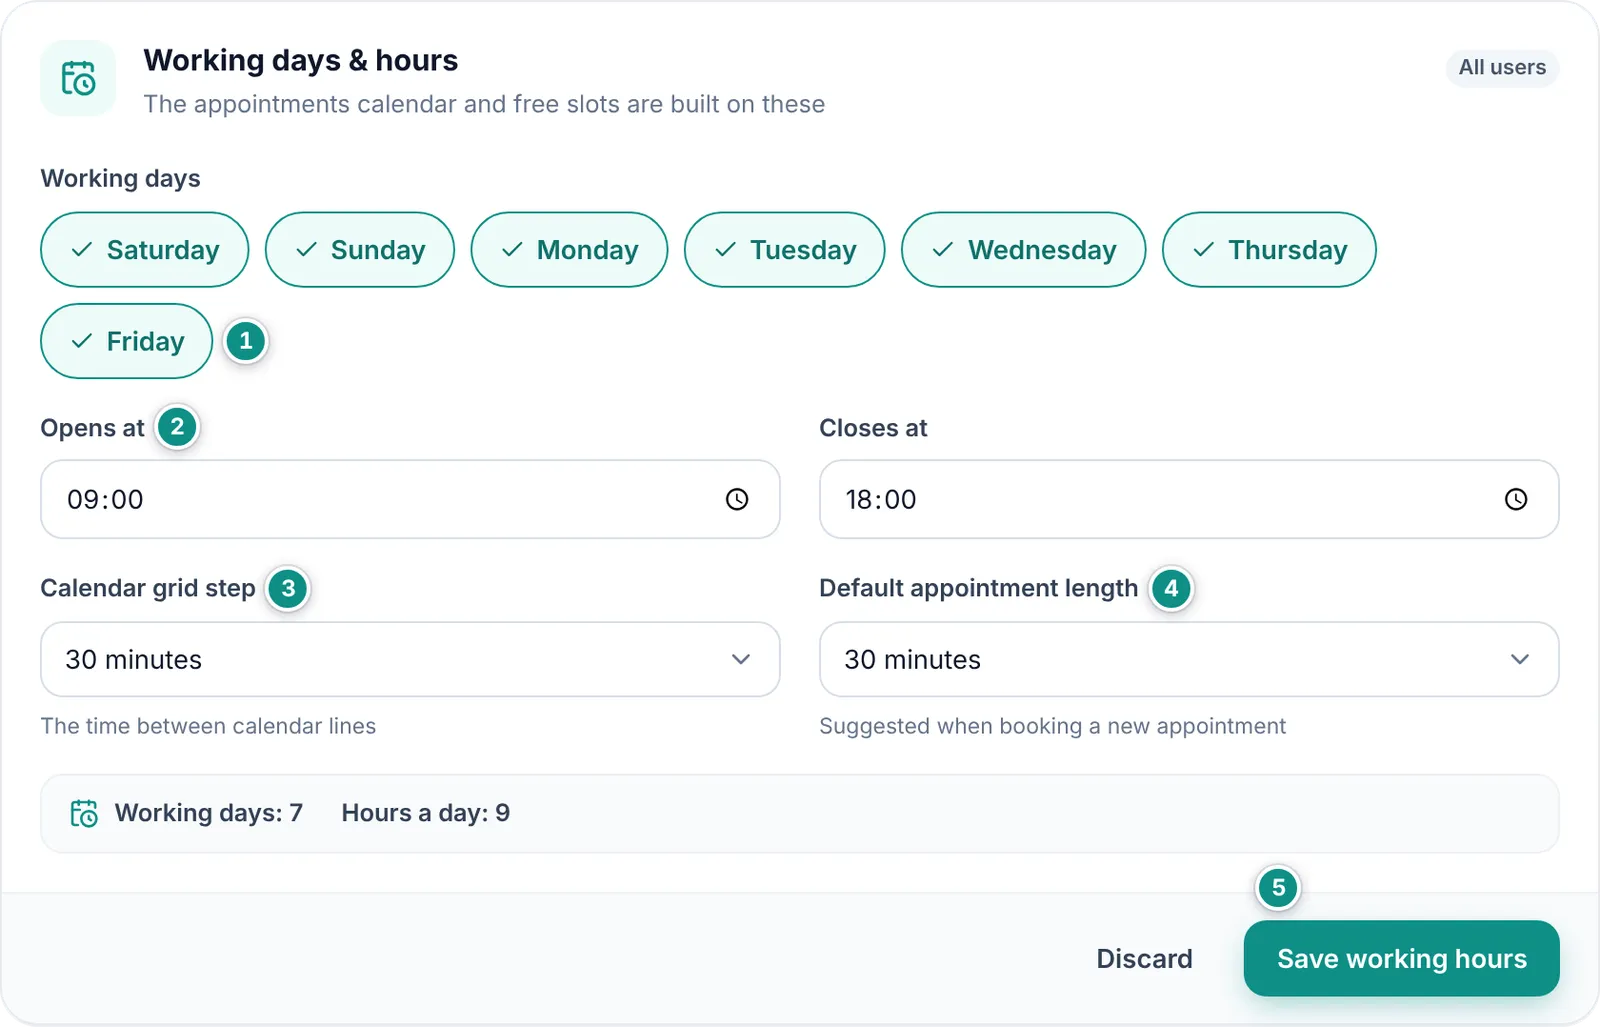
  1. In Preferences → Working days & hours, click days under Working days to select or clear them.
  2. Set Opens at and Closes at.
  3. Choose the Calendar grid step: the time between calendar lines, 15, 20 or 30 minutes or 1 hour.
  4. Choose the Default appointment length suggested when booking, from 15 minutes to 2 hours.
  5. Click Save working hours.
The Working days & hours card with the Save working hours buttonEnlarge the picture

Good to know

  • Under the fields, a summary shows the number of working days and hours a day.
  • At least one working day is needed, and closing time must come after opening time.
  • If you leave before saving, Dentora asks whether to drop your changes.

Auto-lock

Dentora locks itself after a period without use: it goes back to the sign-in screen and asks for a PIN. That keeps patient files safe on a device left open.

  1. In Preferences → Auto-lock, open Lock after inactivity.
  2. Choose after 5, 15 or 30 minutes, after 1 hour, or Never lock automatically. Your choice shows under Current setting.
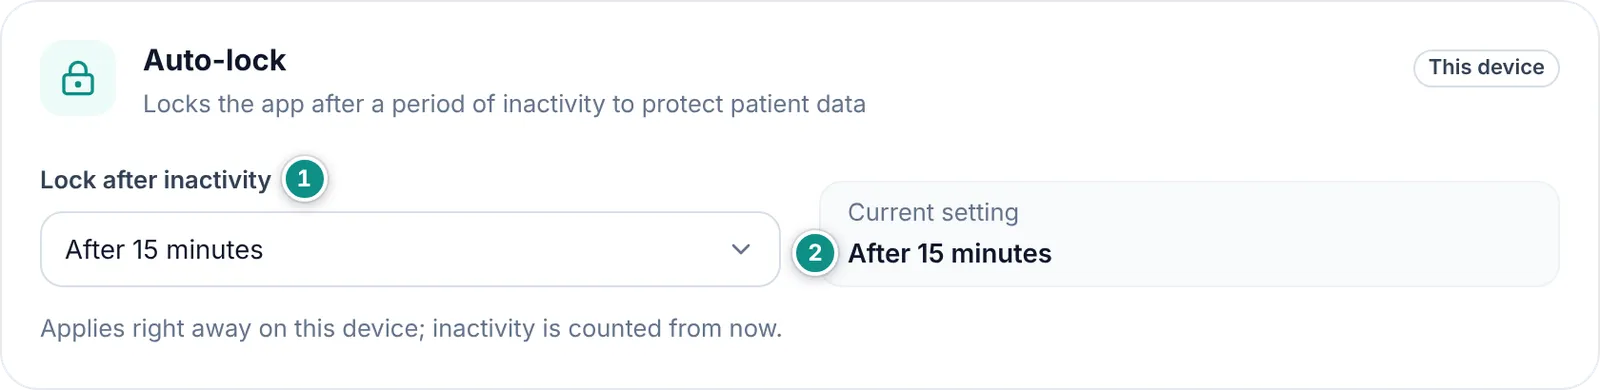
The Auto-lock card: lock after inactivity and the current settingEnlarge the picture

Good to know

  • The setting belongs to this device and the admin changes it. It applies at once, counting inactivity from the moment you change it.
  • It starts at 15 minutes.
  • Time the device spends asleep counts too: come back after the delay and Dentora is locked.
  • Without auto-lock anyone could see patient data on a device left open, so we do not recommend it.
  • Signing in and forgotten PINs: Signing in every day and Forgot your PIN?.

About

About shows your Dentora version, the platform it runs on (Windows or Android), where the data is kept, and the Device number. Its Help card opens the User guide (this guide) and the Video tutorials on Dentora’s website, and it also lists what Dentora does and the Keyboard shortcuts.

  1. Open Settings → About.
  2. Under Help click User guide or Video tutorials: the page opens in your browser, so you need the internet.
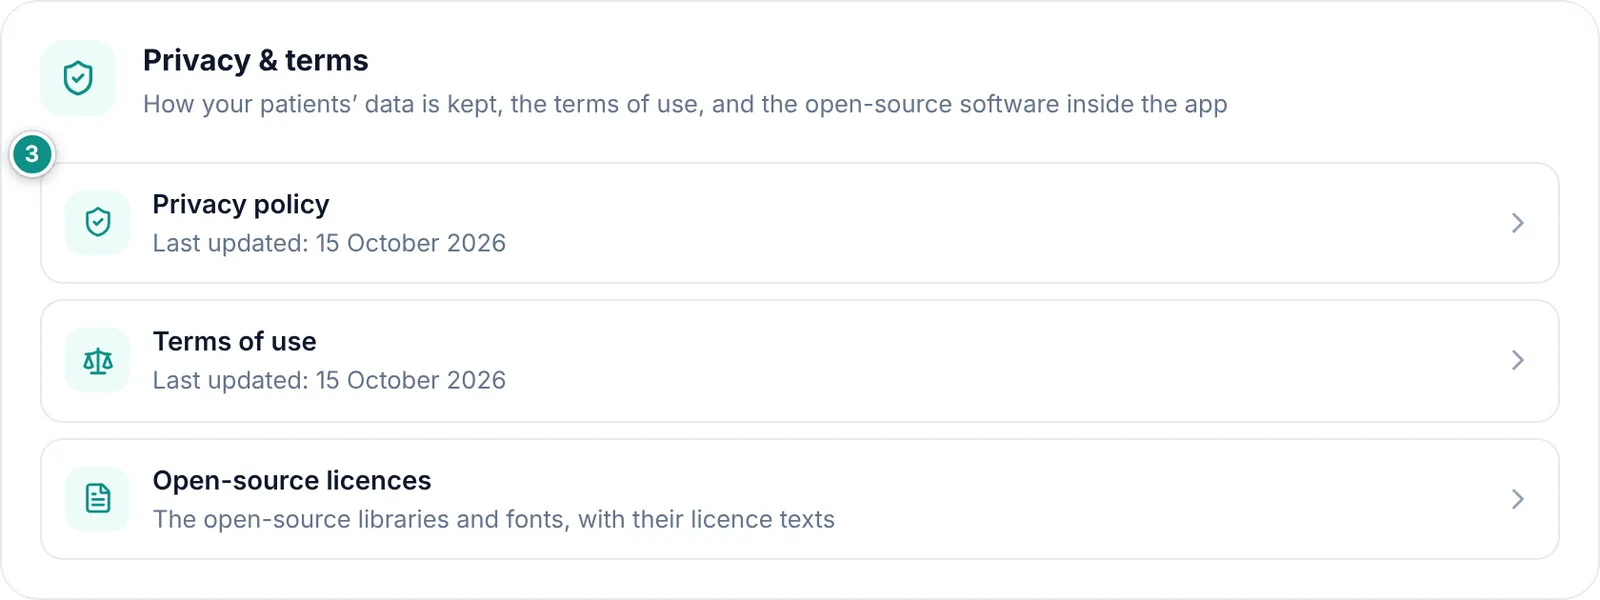
  3. Under Privacy & terms click Privacy policy, Terms of use or Open-source licences to read them.
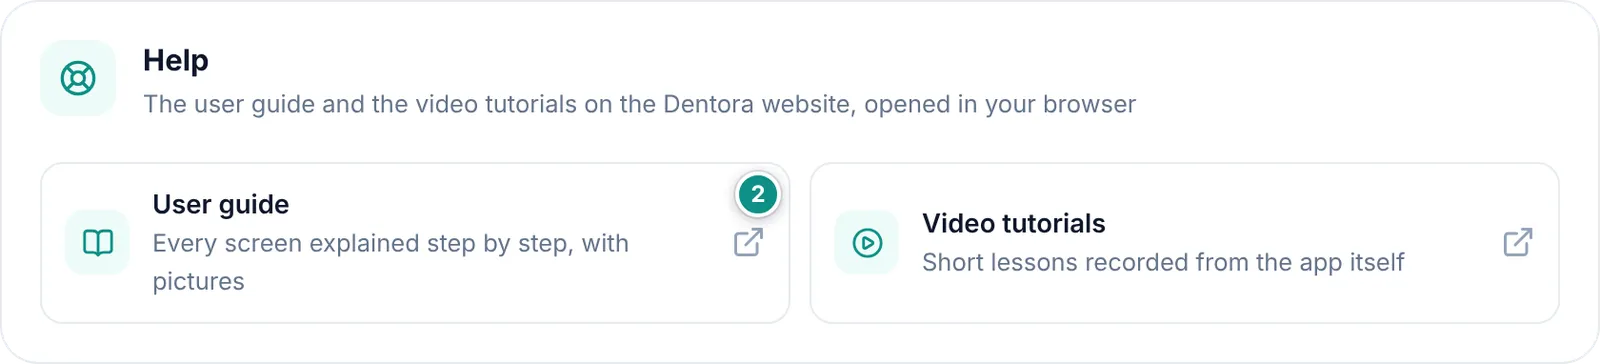
The Help card in About: User guide and Video tutorialsEnlarge the picture
Privacy & terms in AboutEnlarge the picture

Good to know

  • When you contact support, include the version and the device number from this page.
  • The device number is used when activating your licence and when resetting a forgotten admin PIN. See Licence and Forgot your PIN?.
  • Under Terms of use you can see the date the clinic accepted them.
Previous topicReportsNext topicStaff and permissions

Need help?

If you did not find your answer here, message us on WhatsApp and we will help.

WhatsApp+963 996 489 504

On this page

  1. The Settings page
  2. Clinic details
  3. Currency and how amounts look
  4. Tax, invoice numbering and printed notes
  5. Language, month names, font and appearance
  6. Working days and hours
  7. Auto-lock
  8. About

Back to top

All topics

  1. Getting started
  2. Finding your way around
  3. The dashboard
  4. Patients
  5. Dental chart
  6. Appointments
  7. Treatments and treatment plans
  8. Invoices and payments
  9. Prescriptions
  10. Dental lab
  11. Inventory
  12. Expenses
  13. Reports
  14. Settings
  15. Staff and permissions
  16. Backup and moving your clinic
  17. Licence and activation
  18. Questions and answers

© 2026 Dentora. All rights reserved.

HomeUser guideVideosActivate a licencePrivacy policyTerms of use